Robotics & Electronics
Building robots, experimenting with electronics, and learning how to make things move, think, and work using code and creativity.
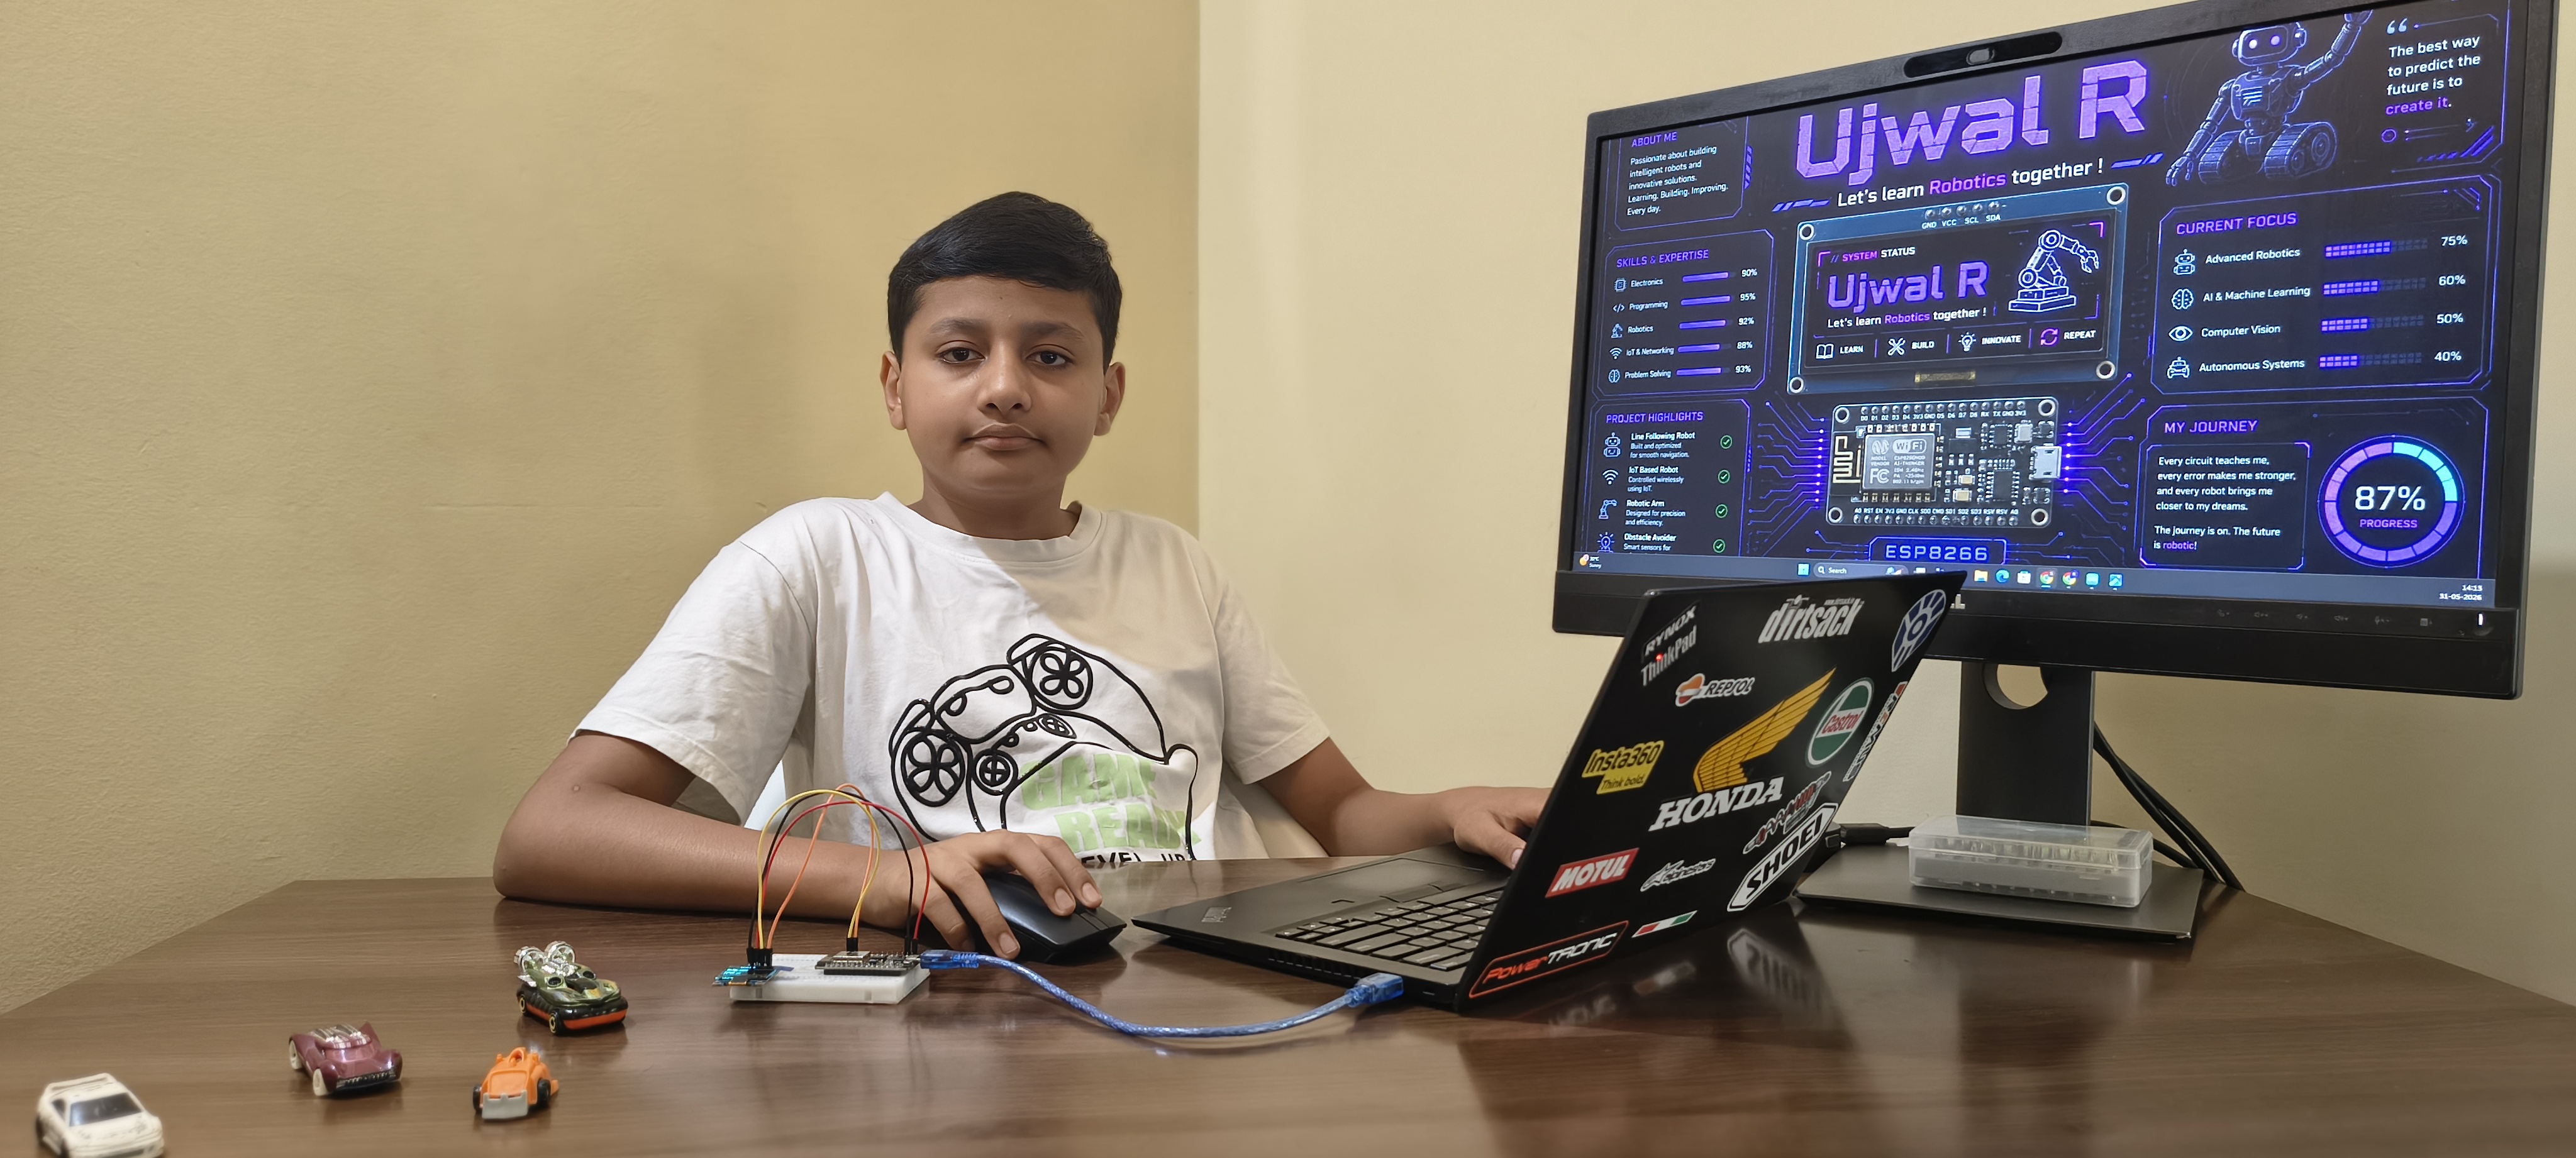
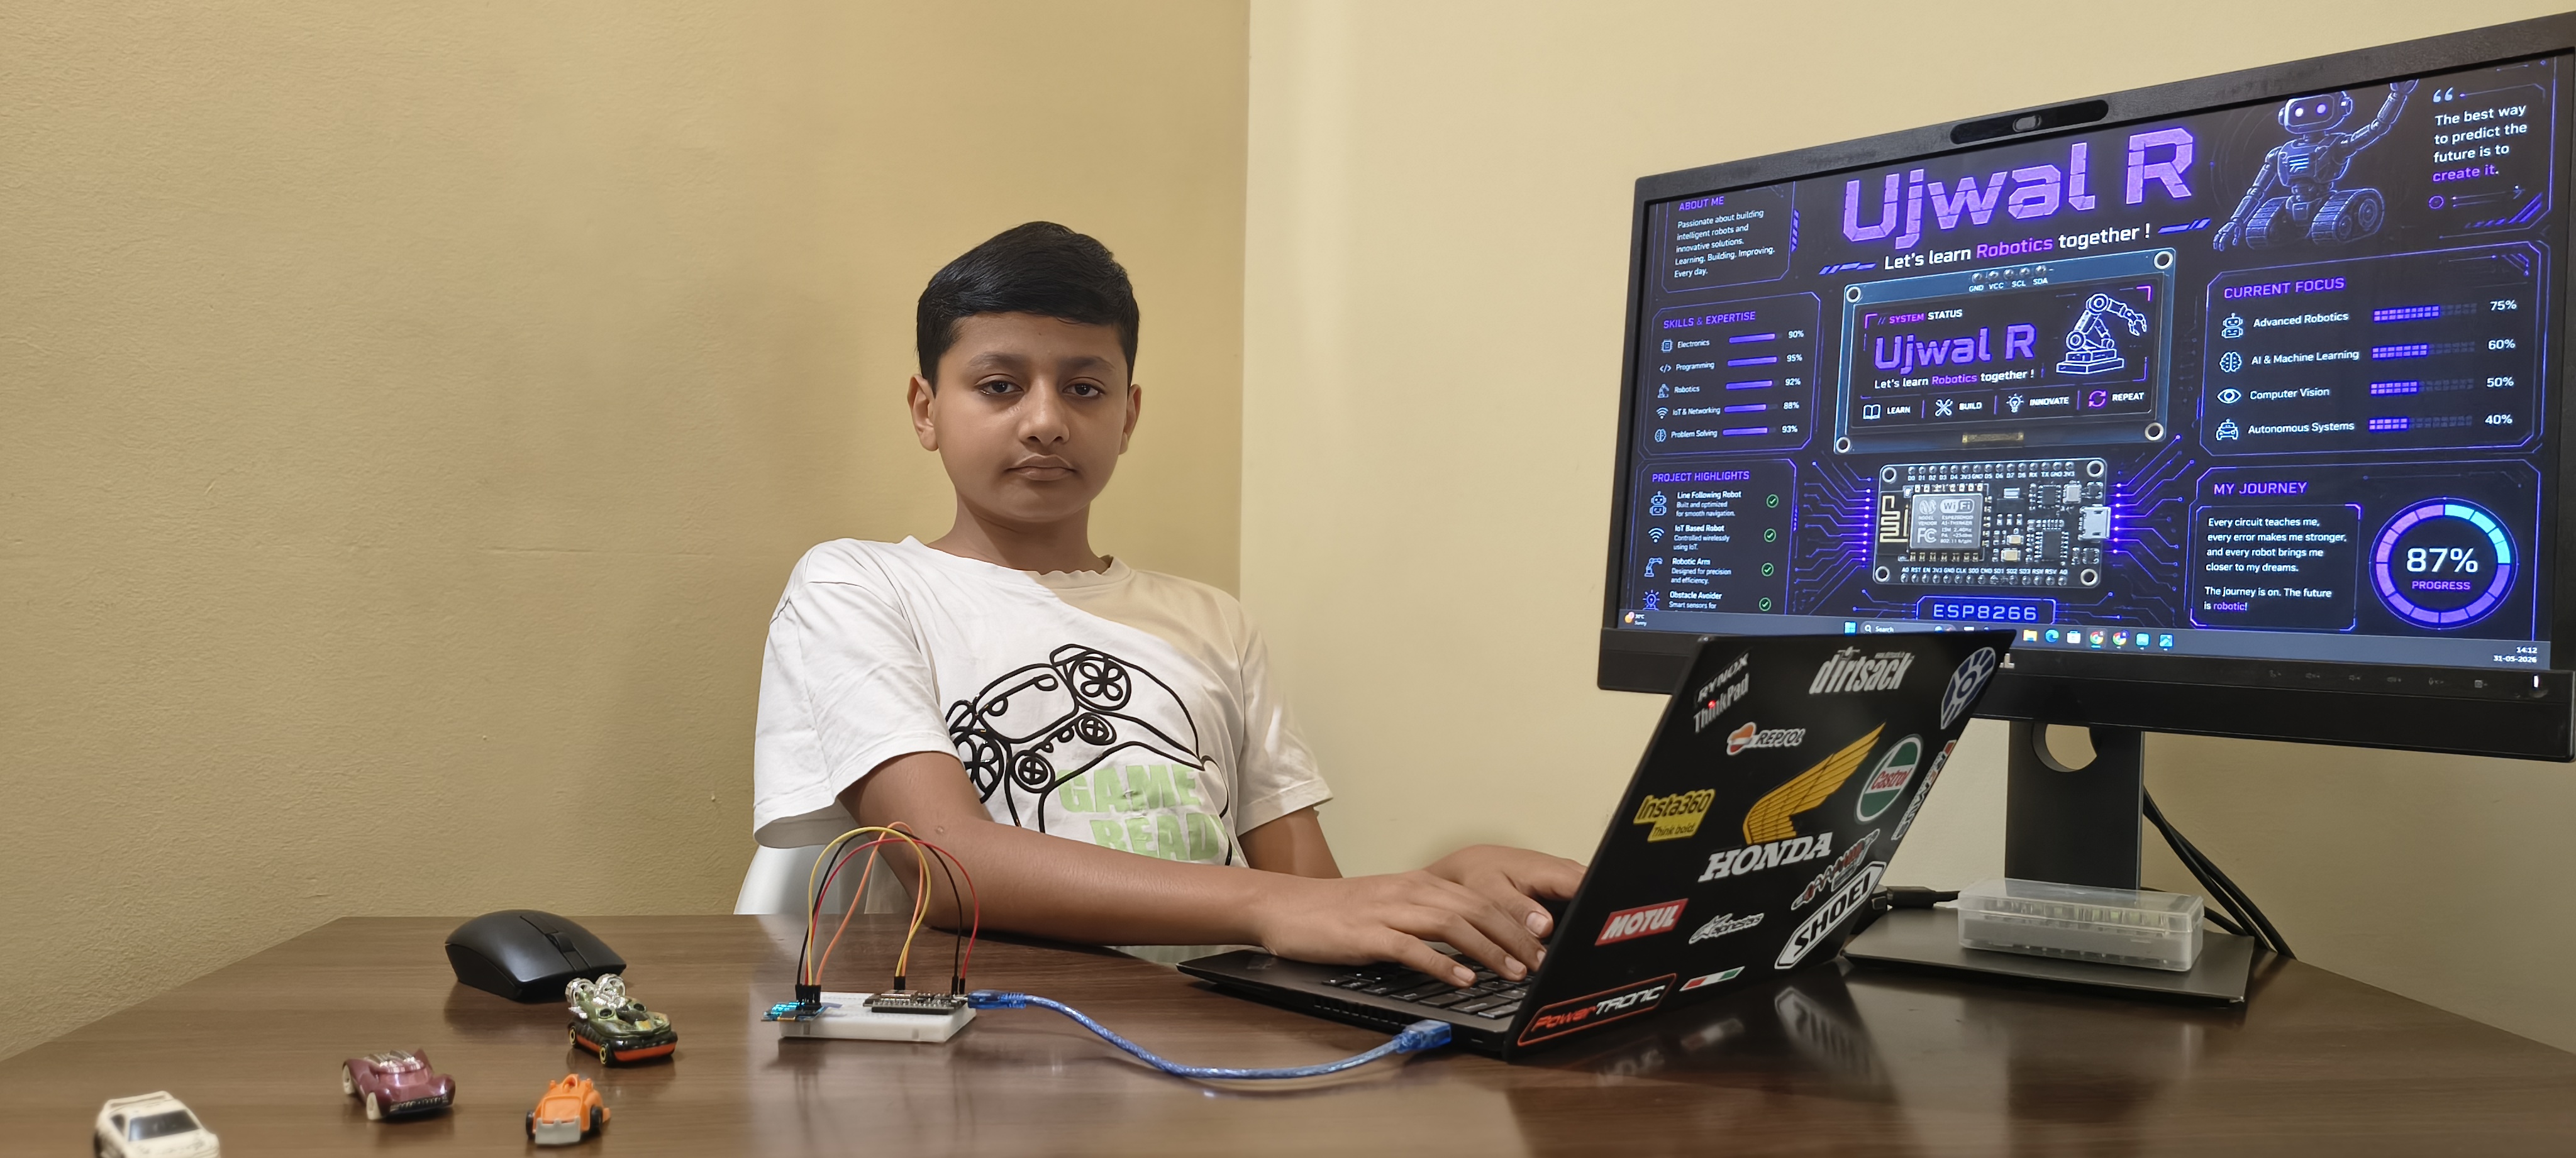
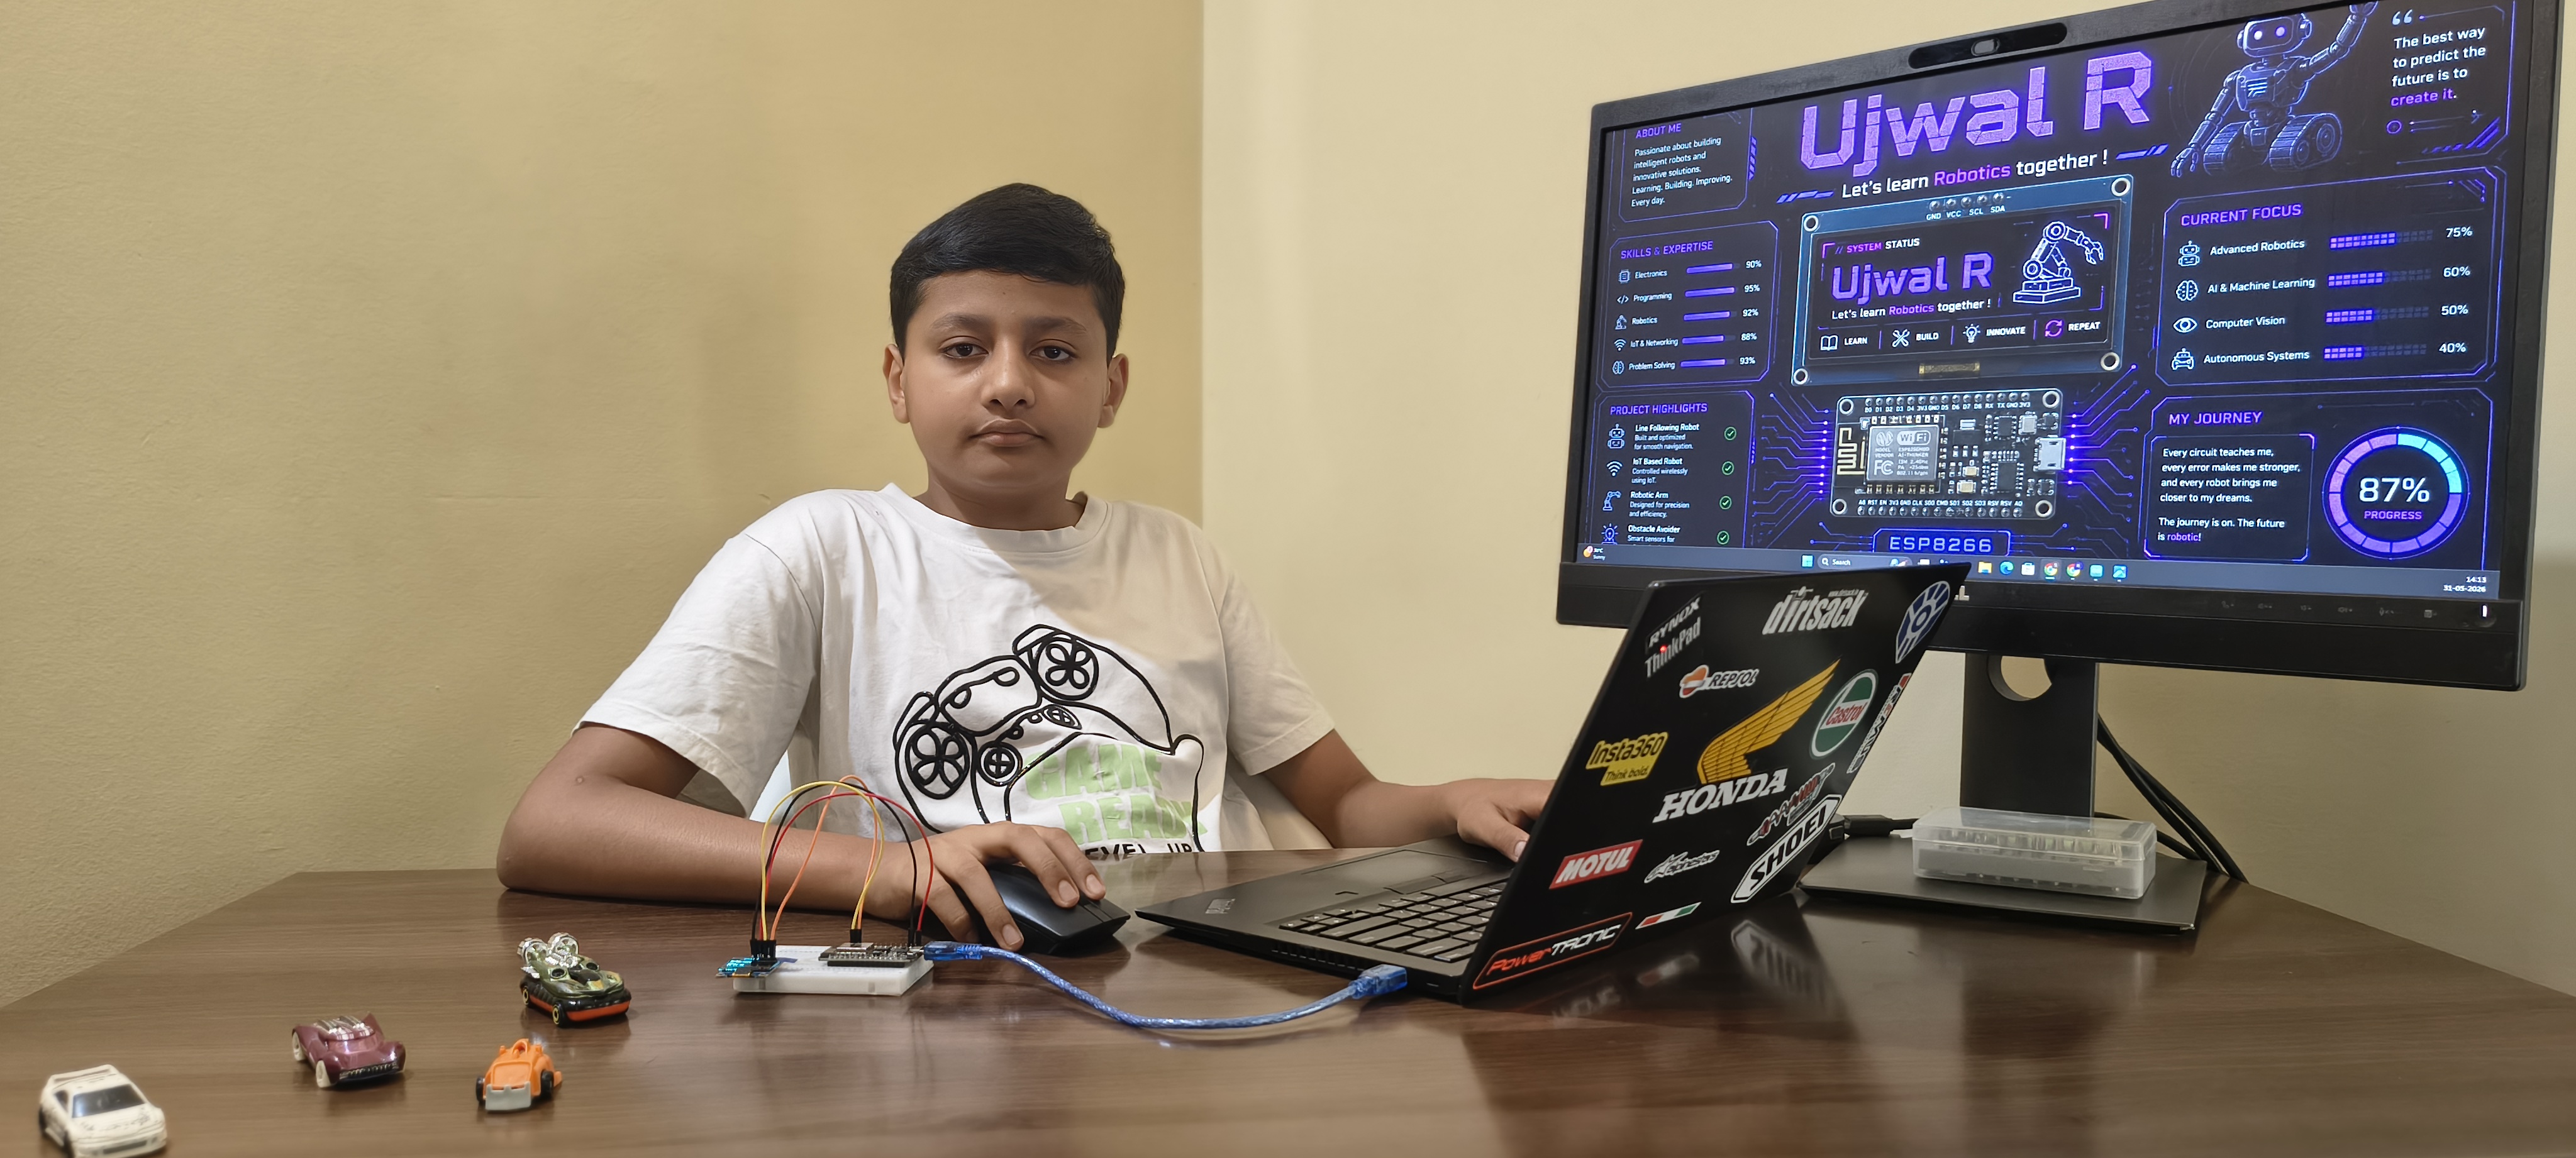
My interest in robotics started when I met my mentor, Konark, who introduced me to the world of robotics and technology. His innovative projects and creative ideas inspired me to start exploring robotics on my own.
Konark has immense knowledge in robotics, analytics, website development, and app building. He has taught me how robotics can be used in real-world applications and has guided me in learning robotics and building my own website. His website, konverra.in, inspired me to create and host my own website and also increased my interest in website and mobile app development.
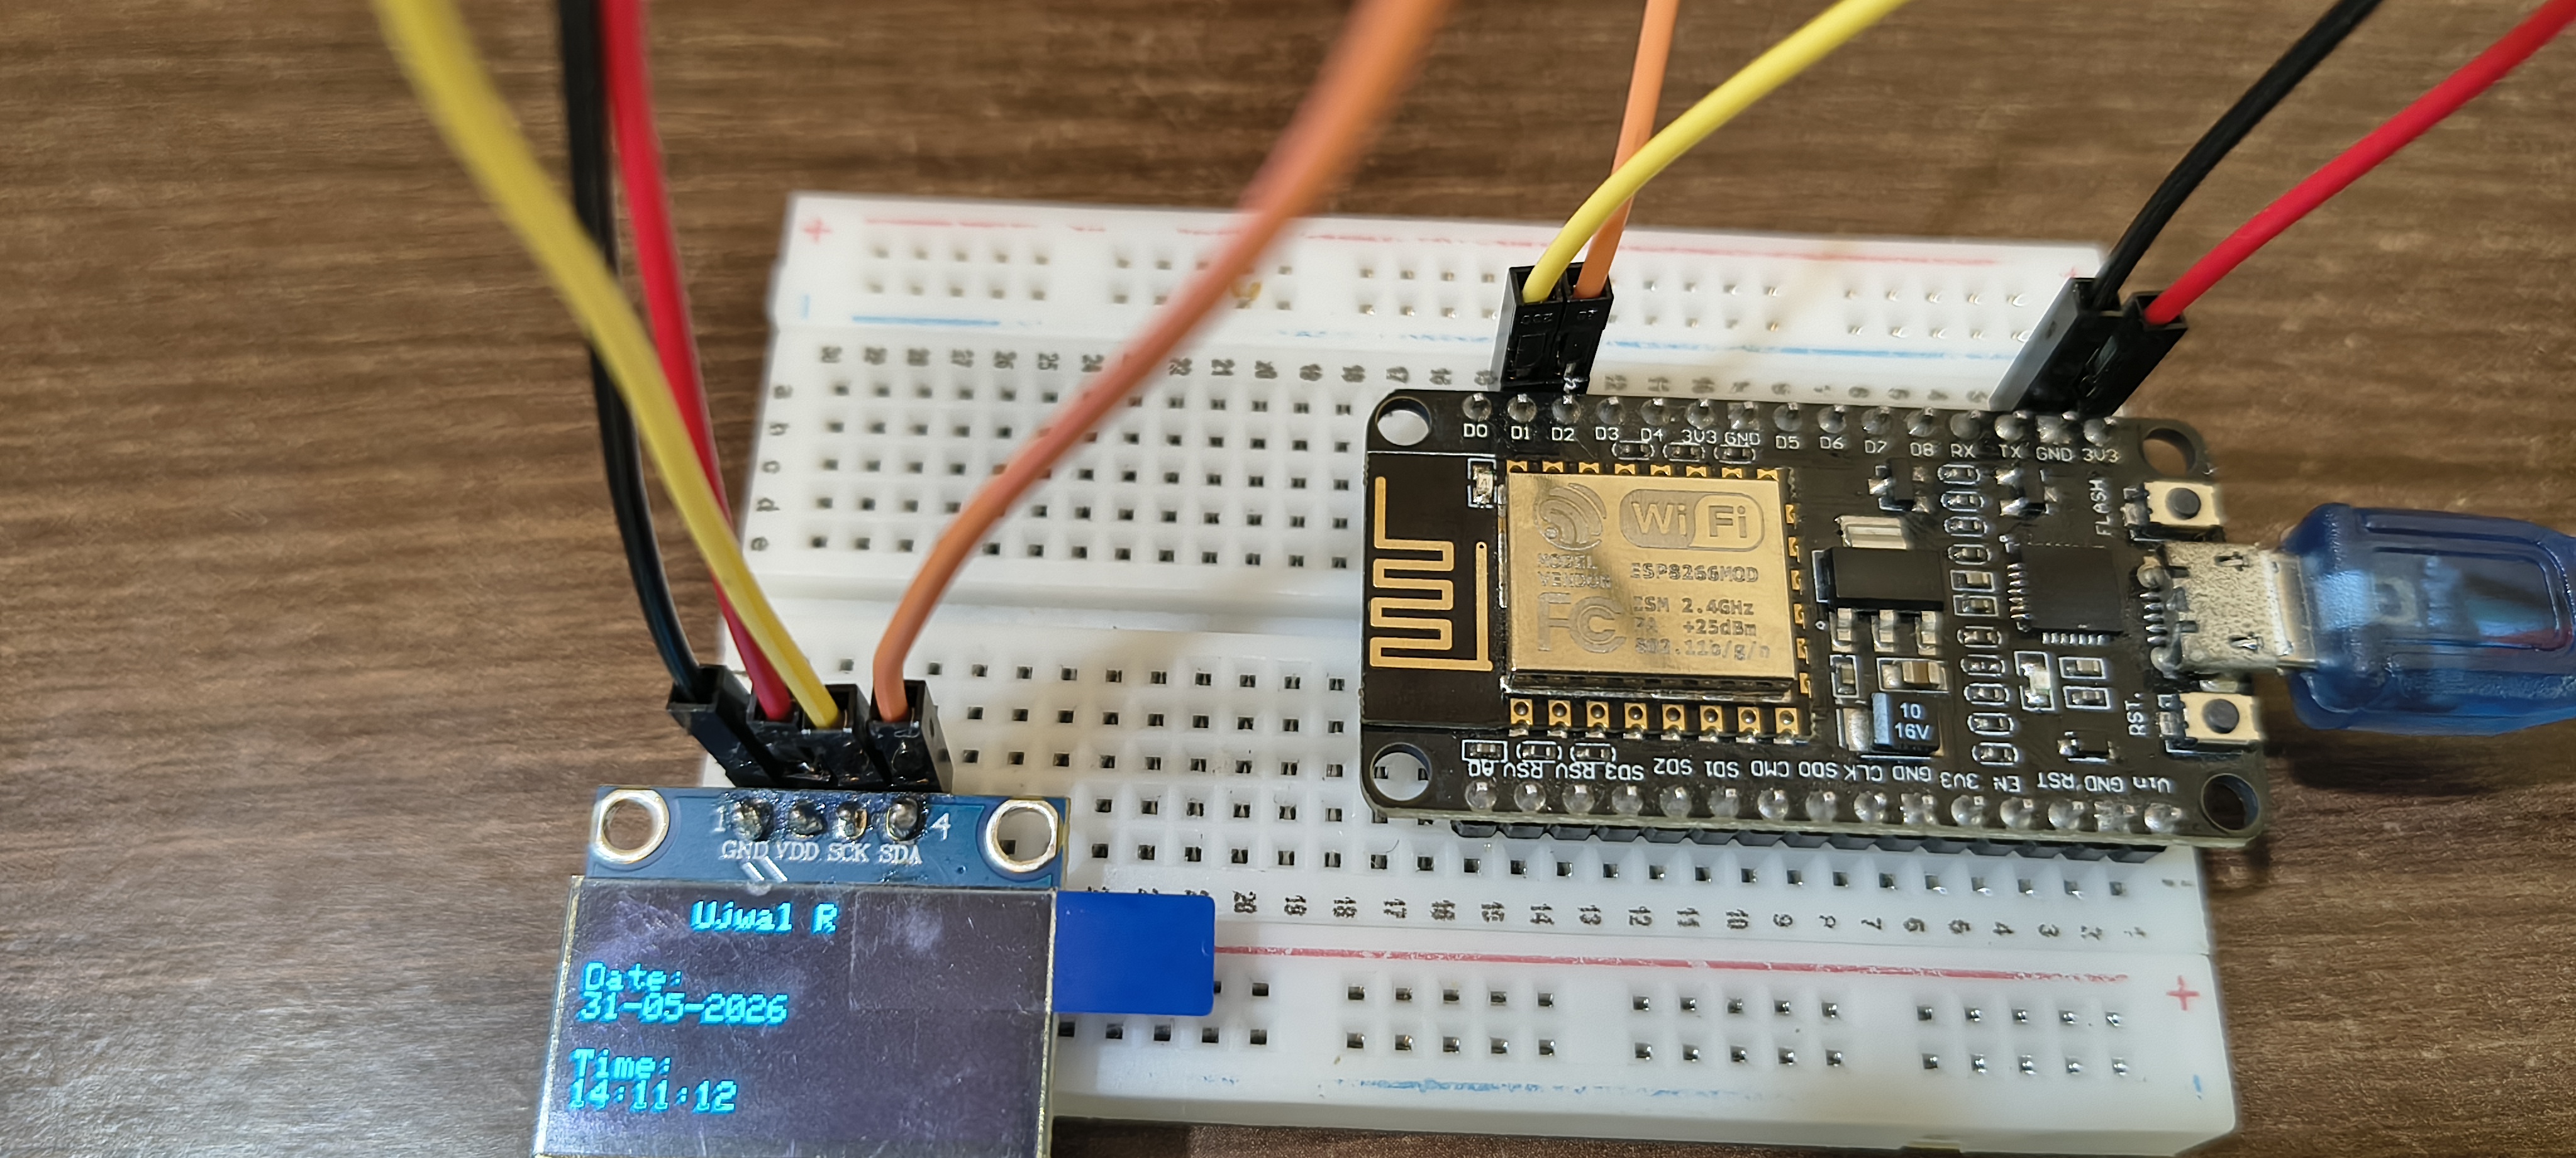
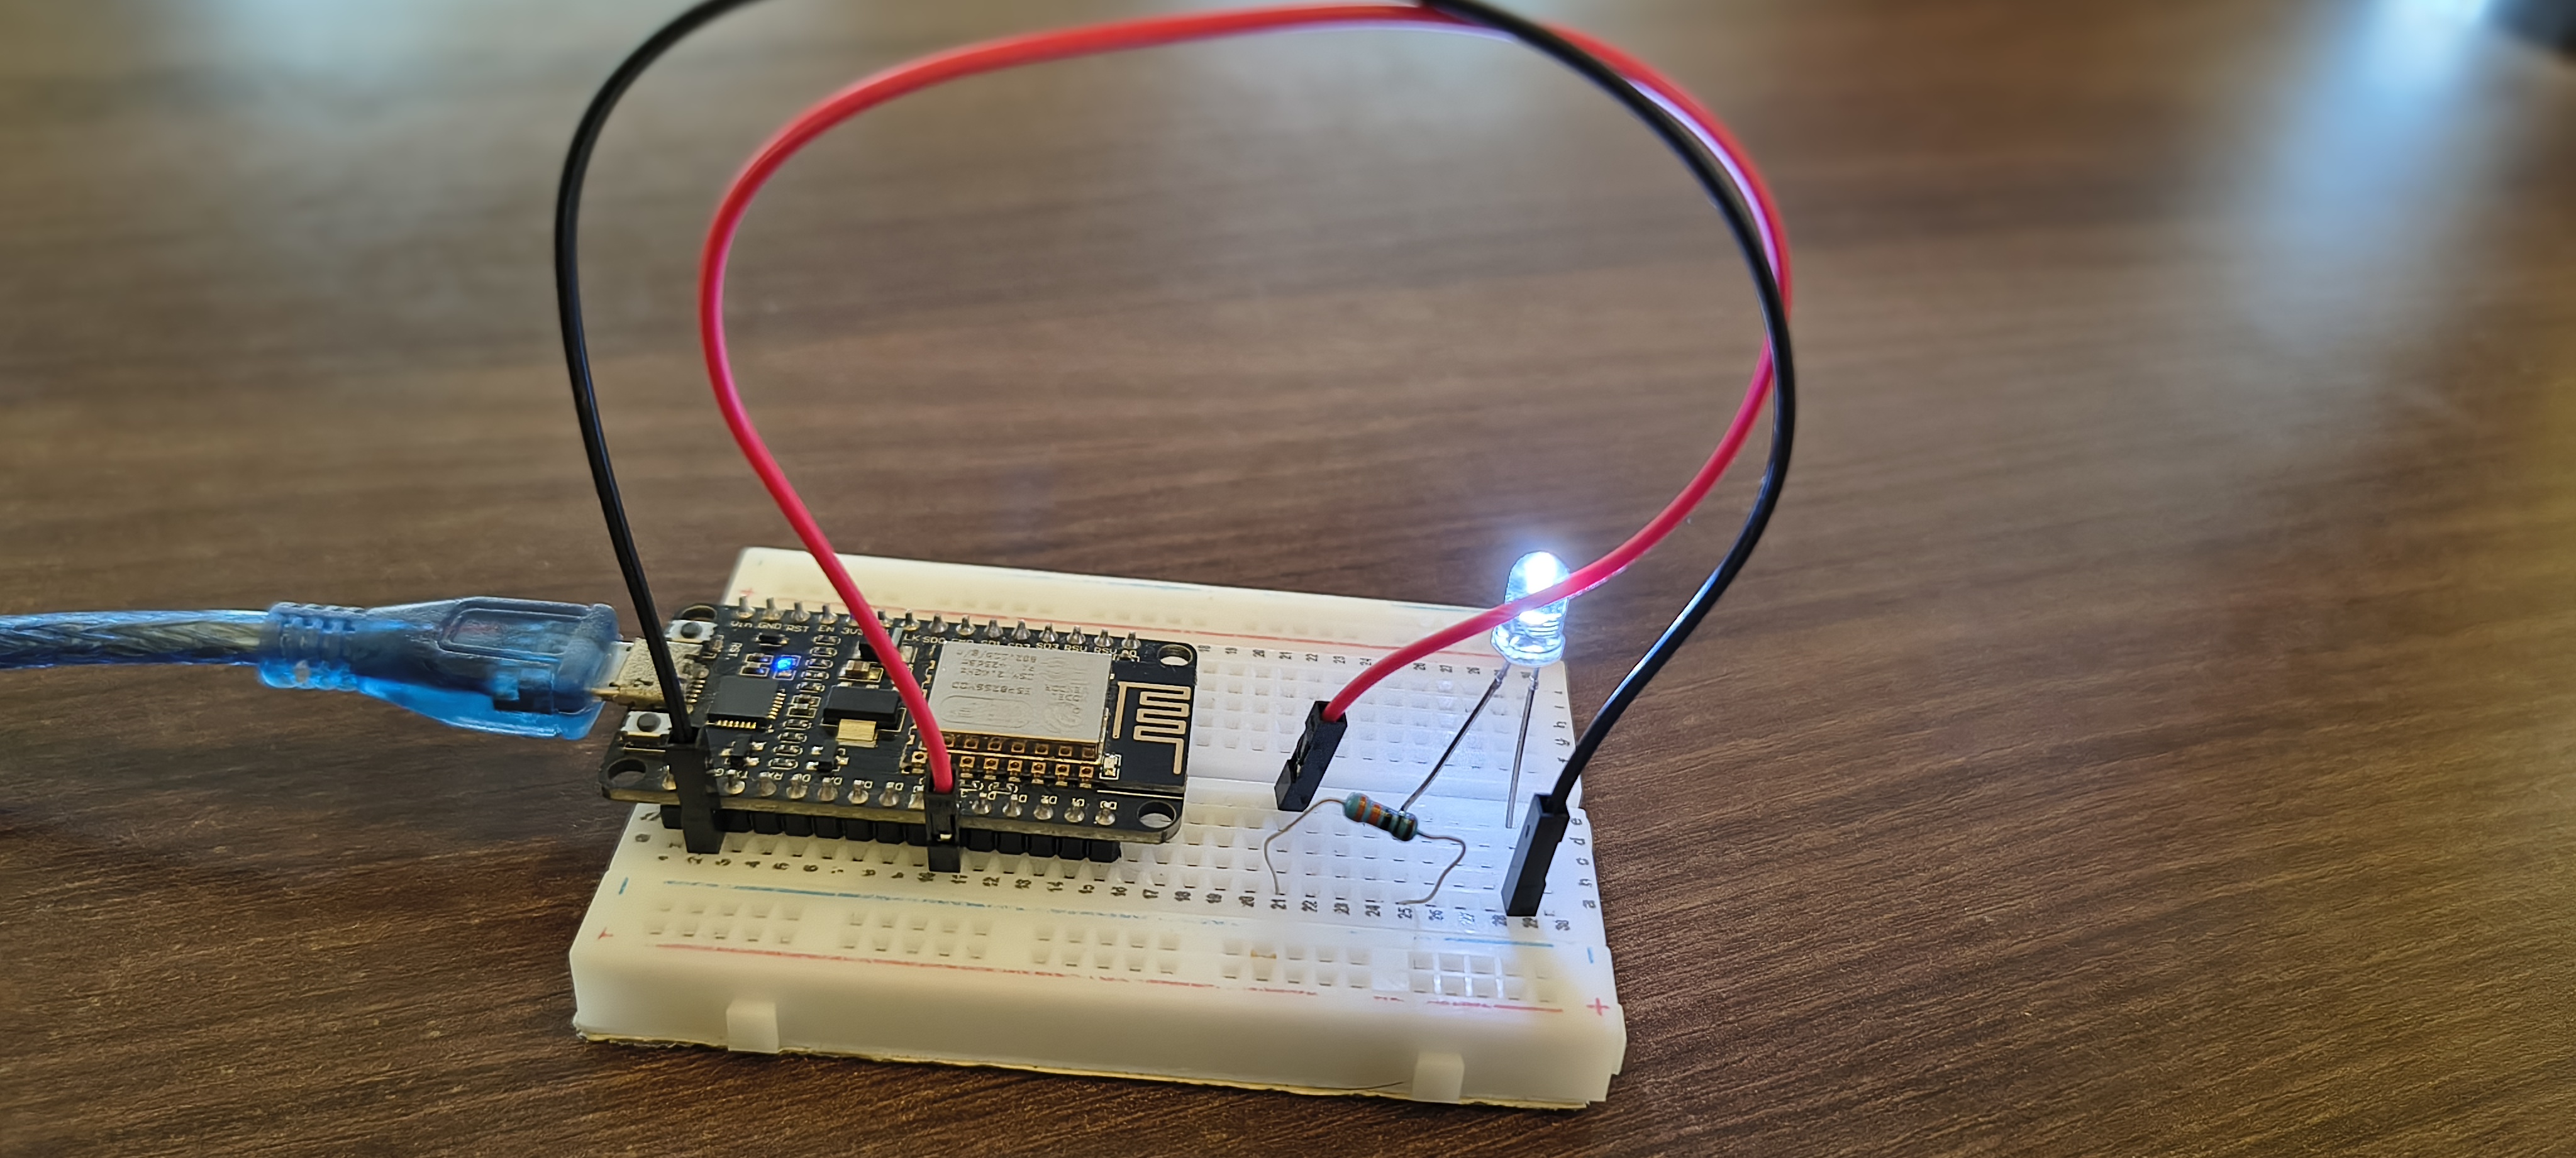
I started my robotics journey with simple electronics projects like lighting an LED bulb and creating blinking LED circuits. Later, I built touch sensor projects where LEDs responded to different touch actions. I also experimented with OLED displays to show names, local time, and date information.
As I continued learning, I built an RC car and later enhanced it by adding an OLED display and an ultrasonic sensor for obstacle detection and collision avoidance.
I enjoy working with microcontrollers, sensors, displays, motors, and electronics components to build creative projects and learn how different technologies work together.
Robotics excites me because it combines creativity, coding, electronics, engineering, and problem-solving. In the future, I would love to build advanced robotics systems, drones, smart devices, websites, and mobile apps.
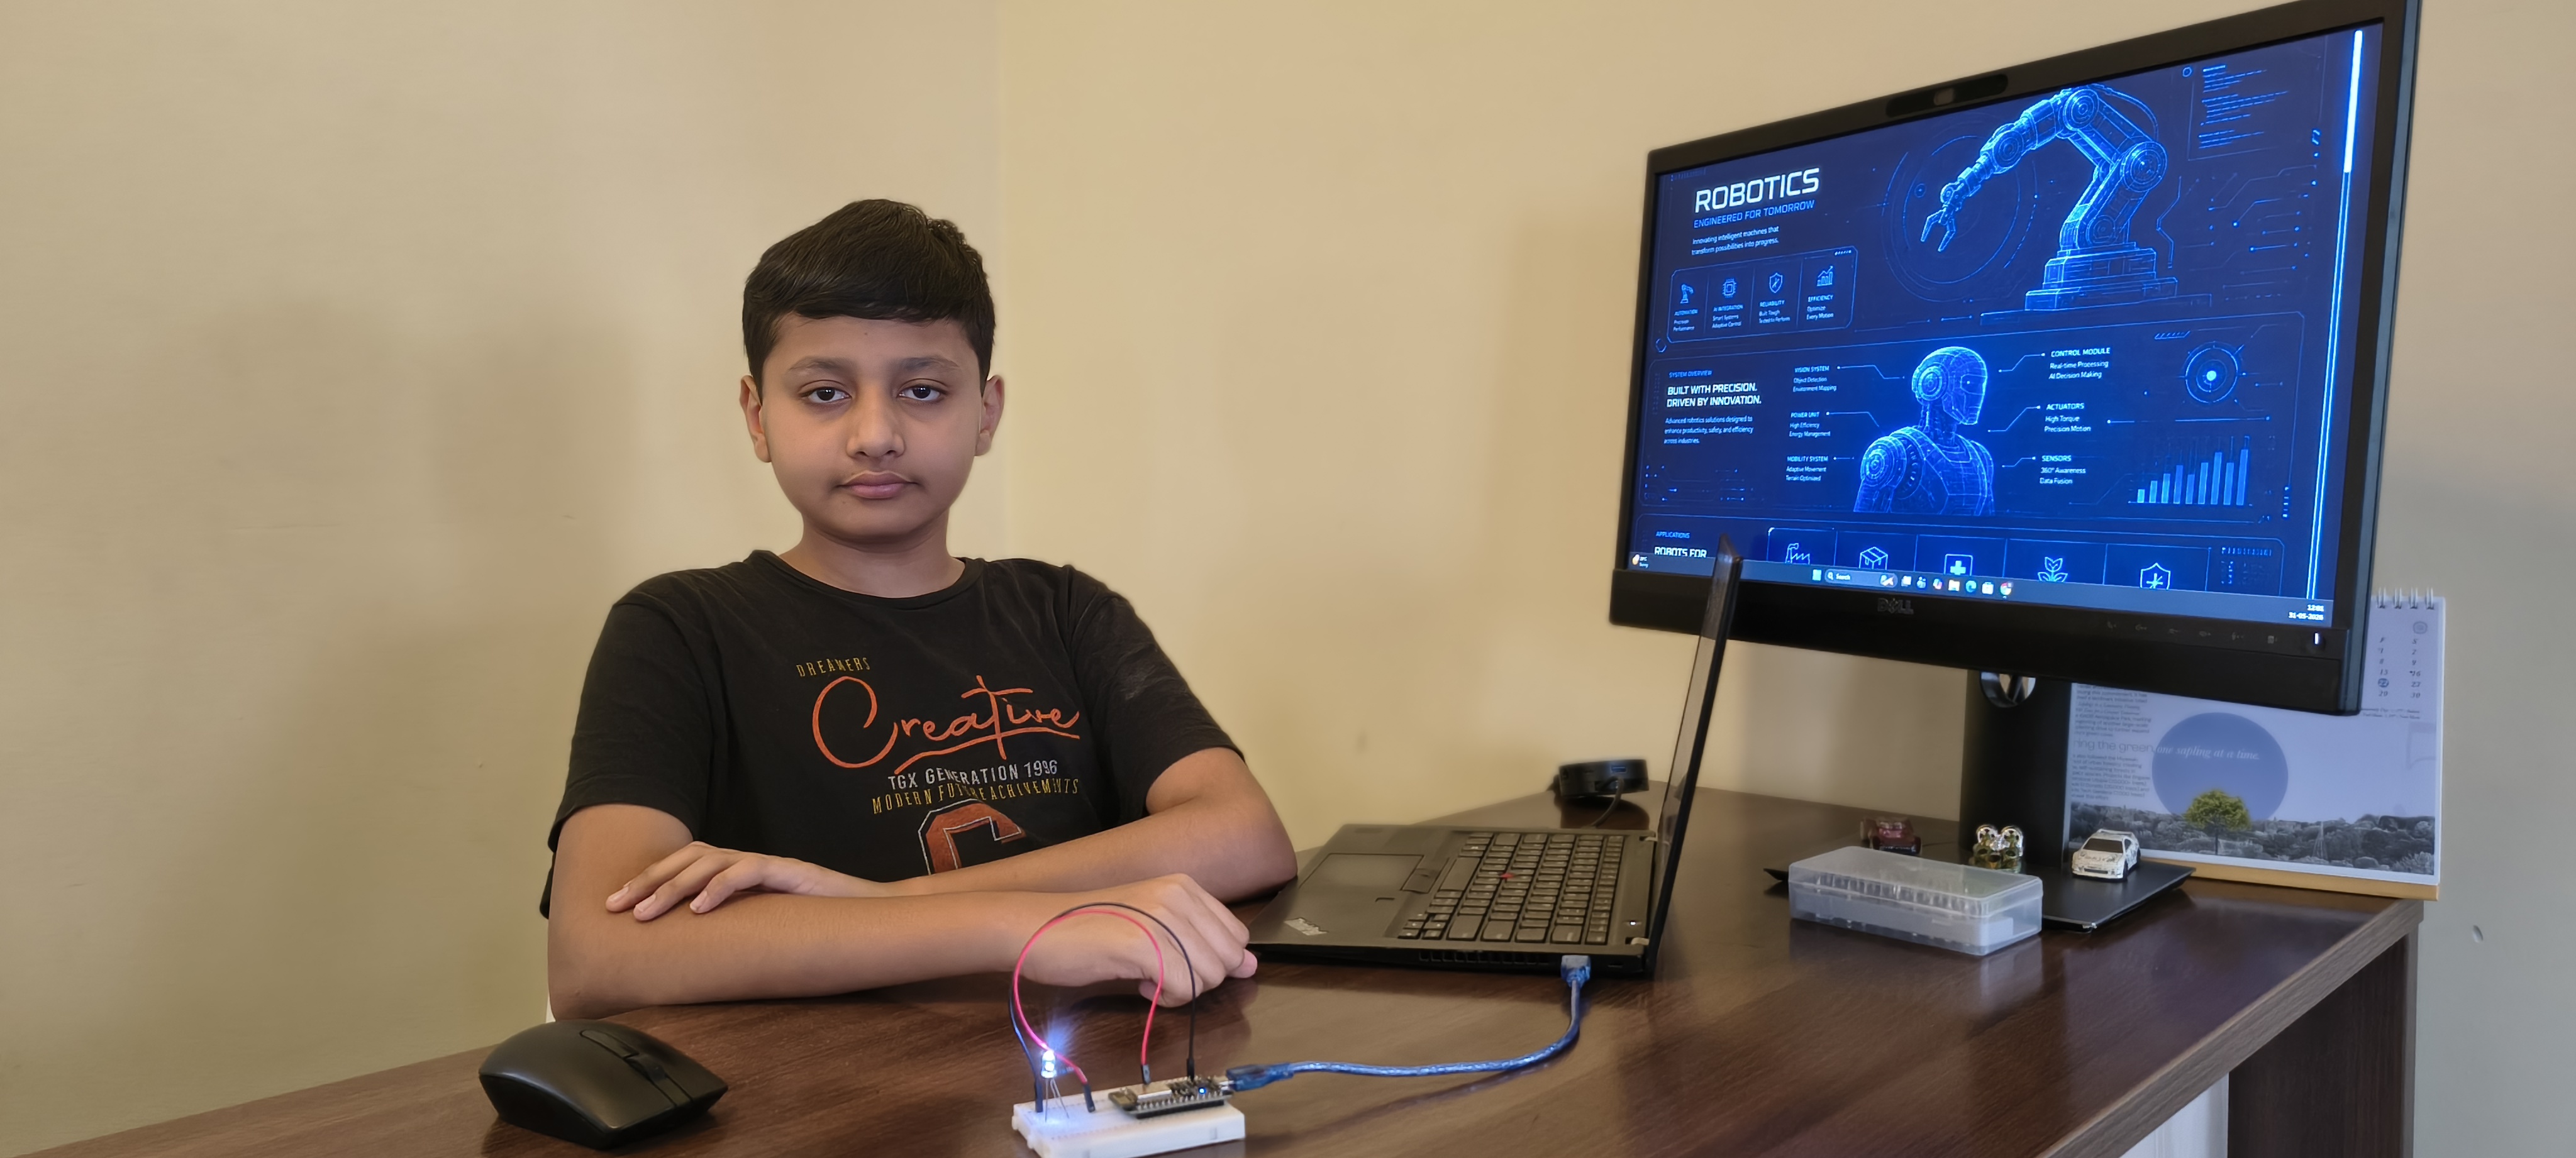
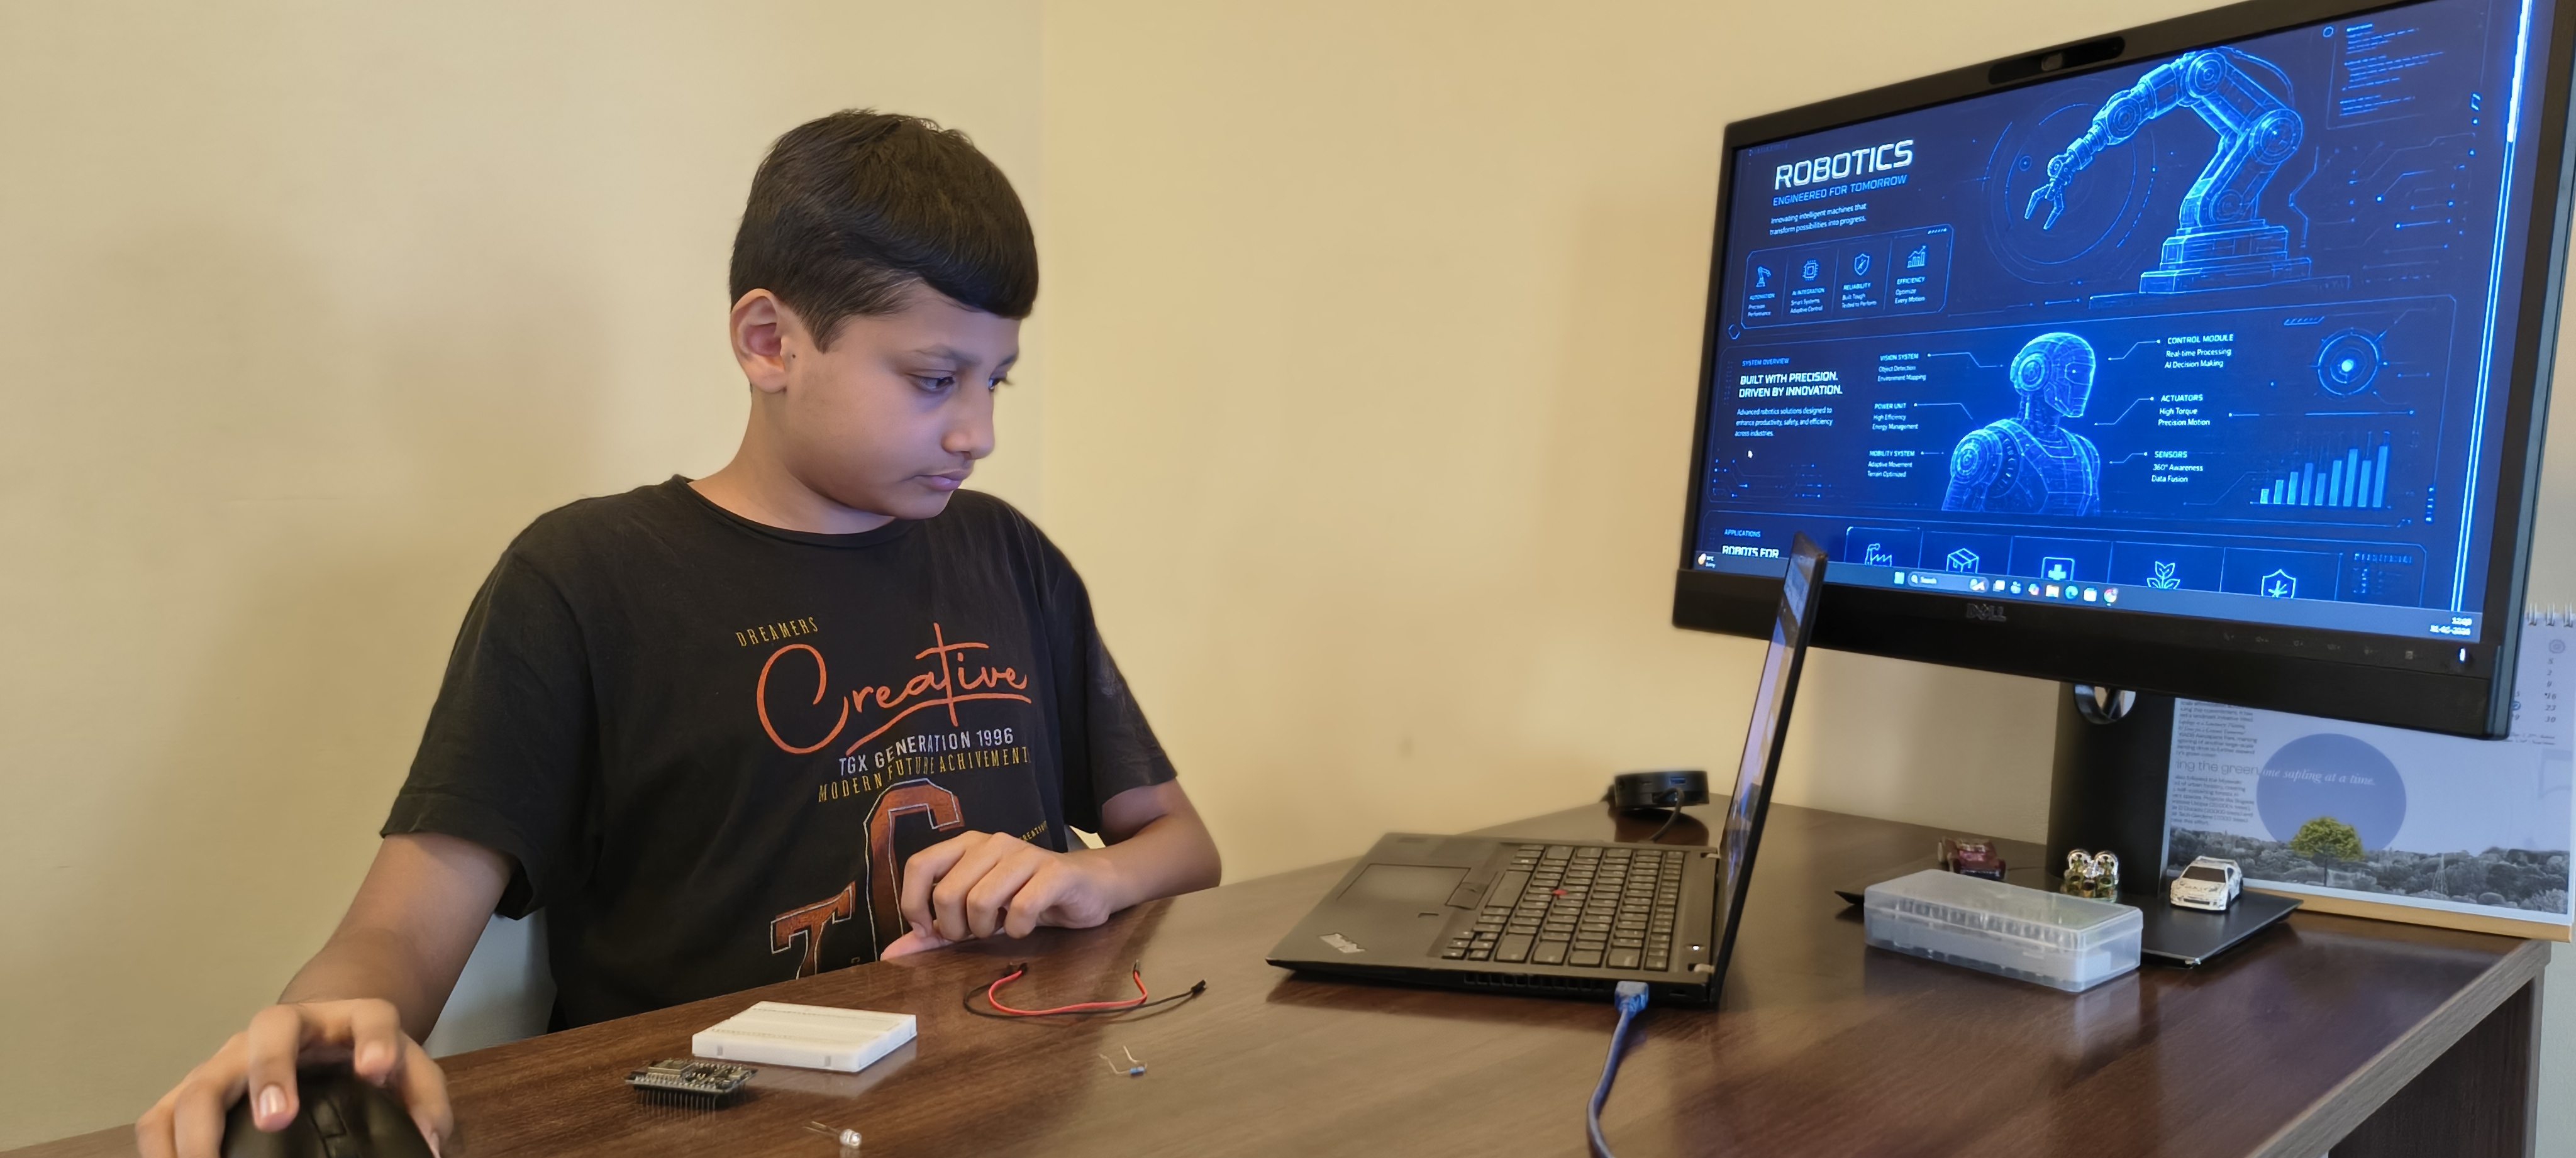
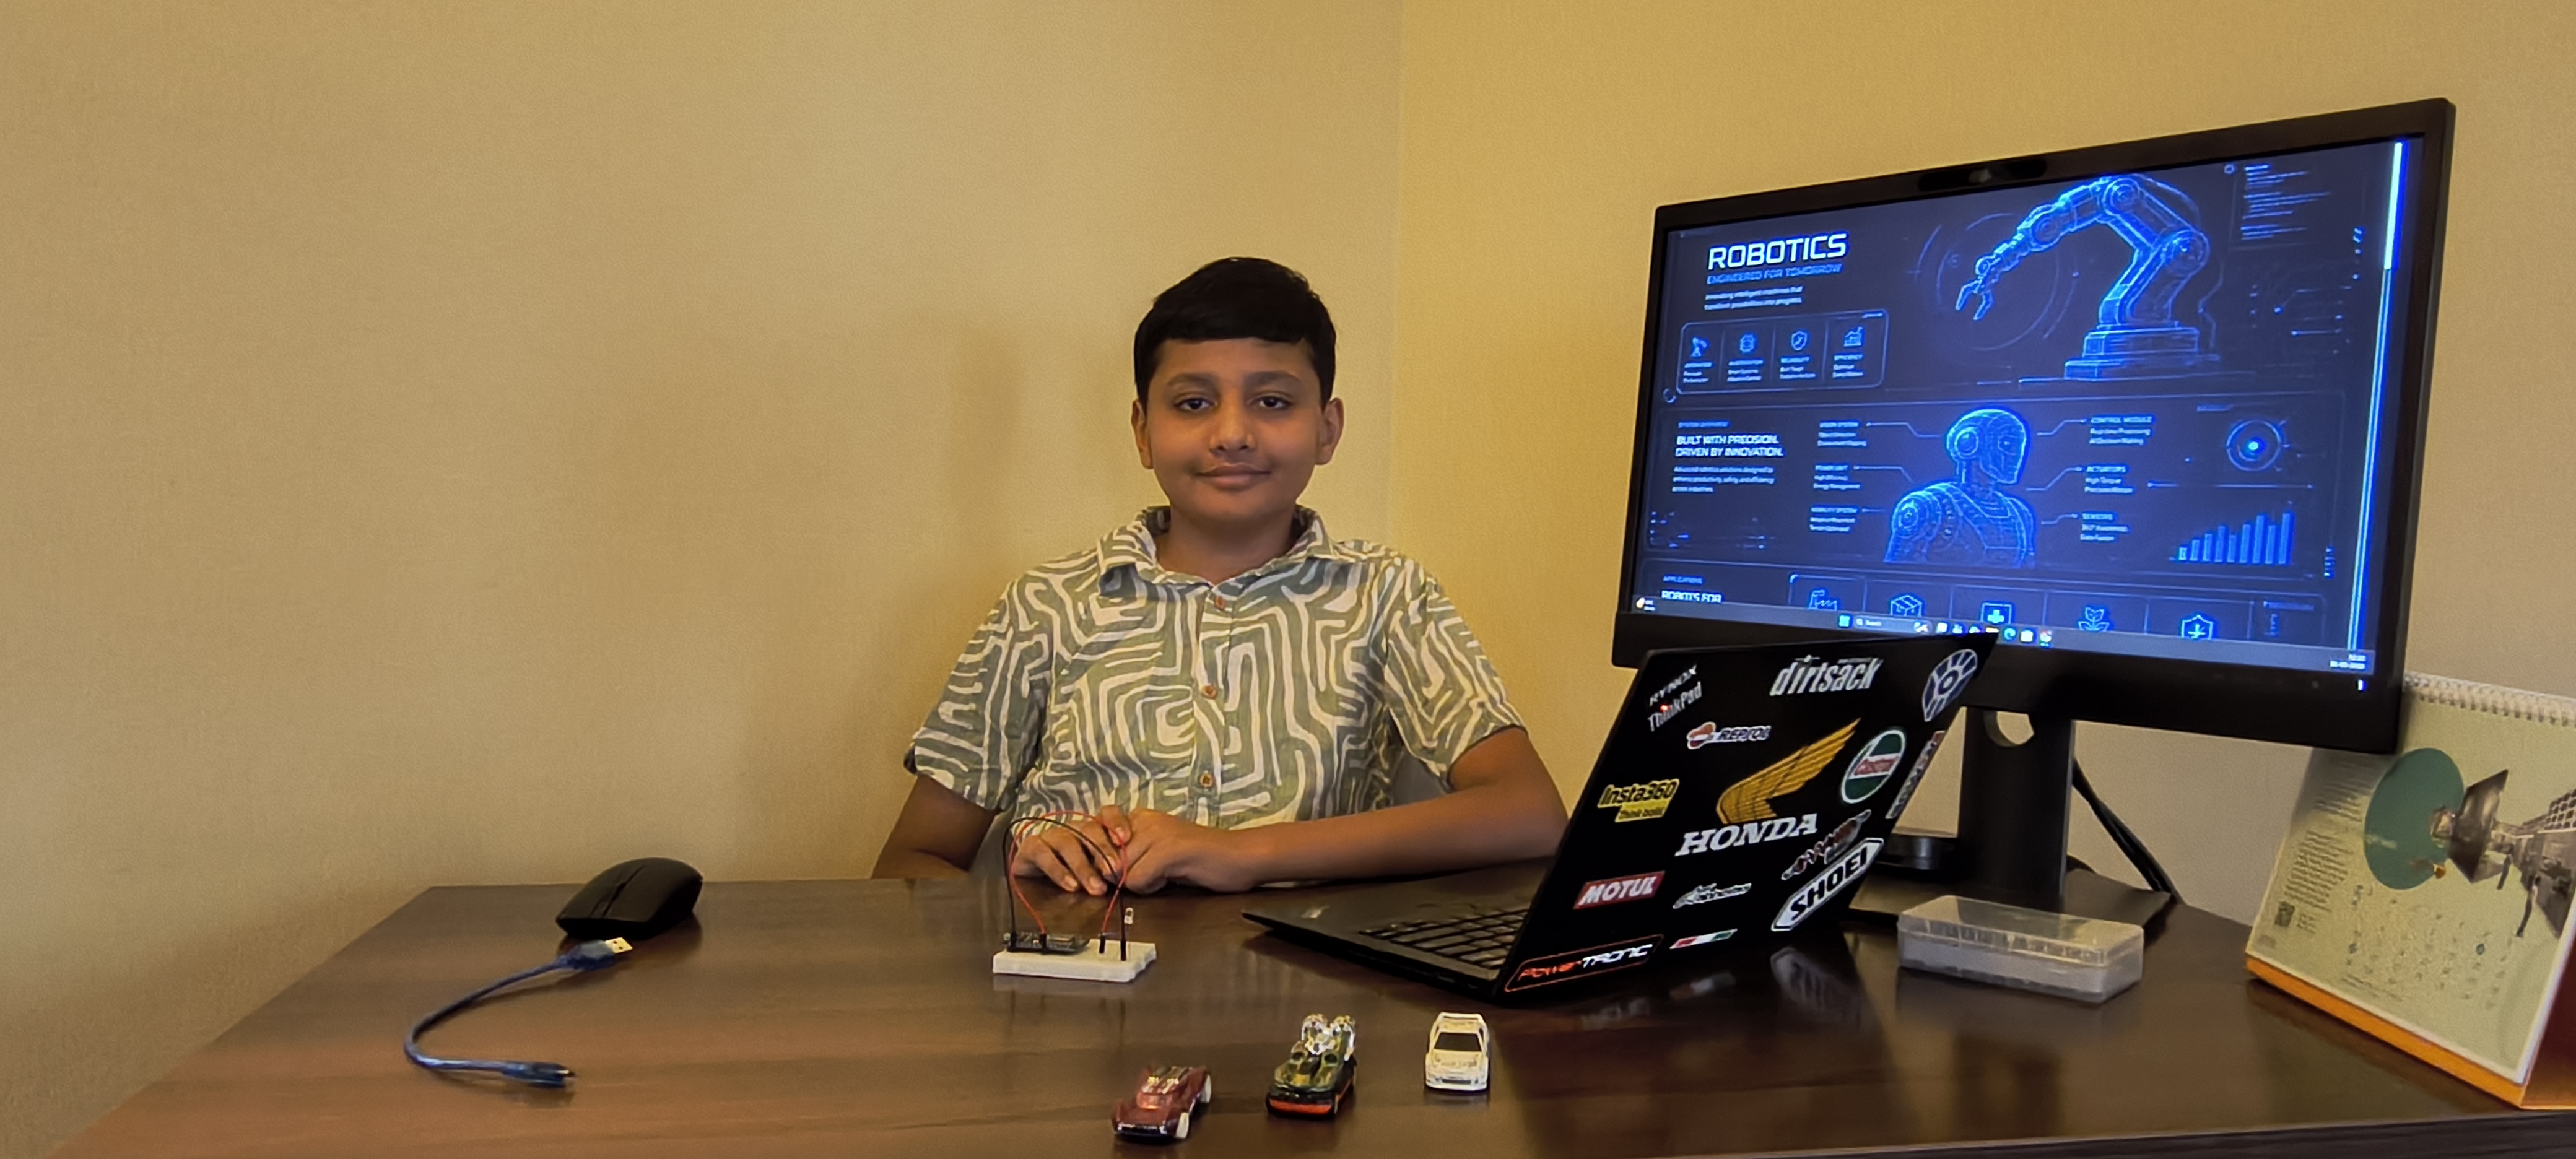
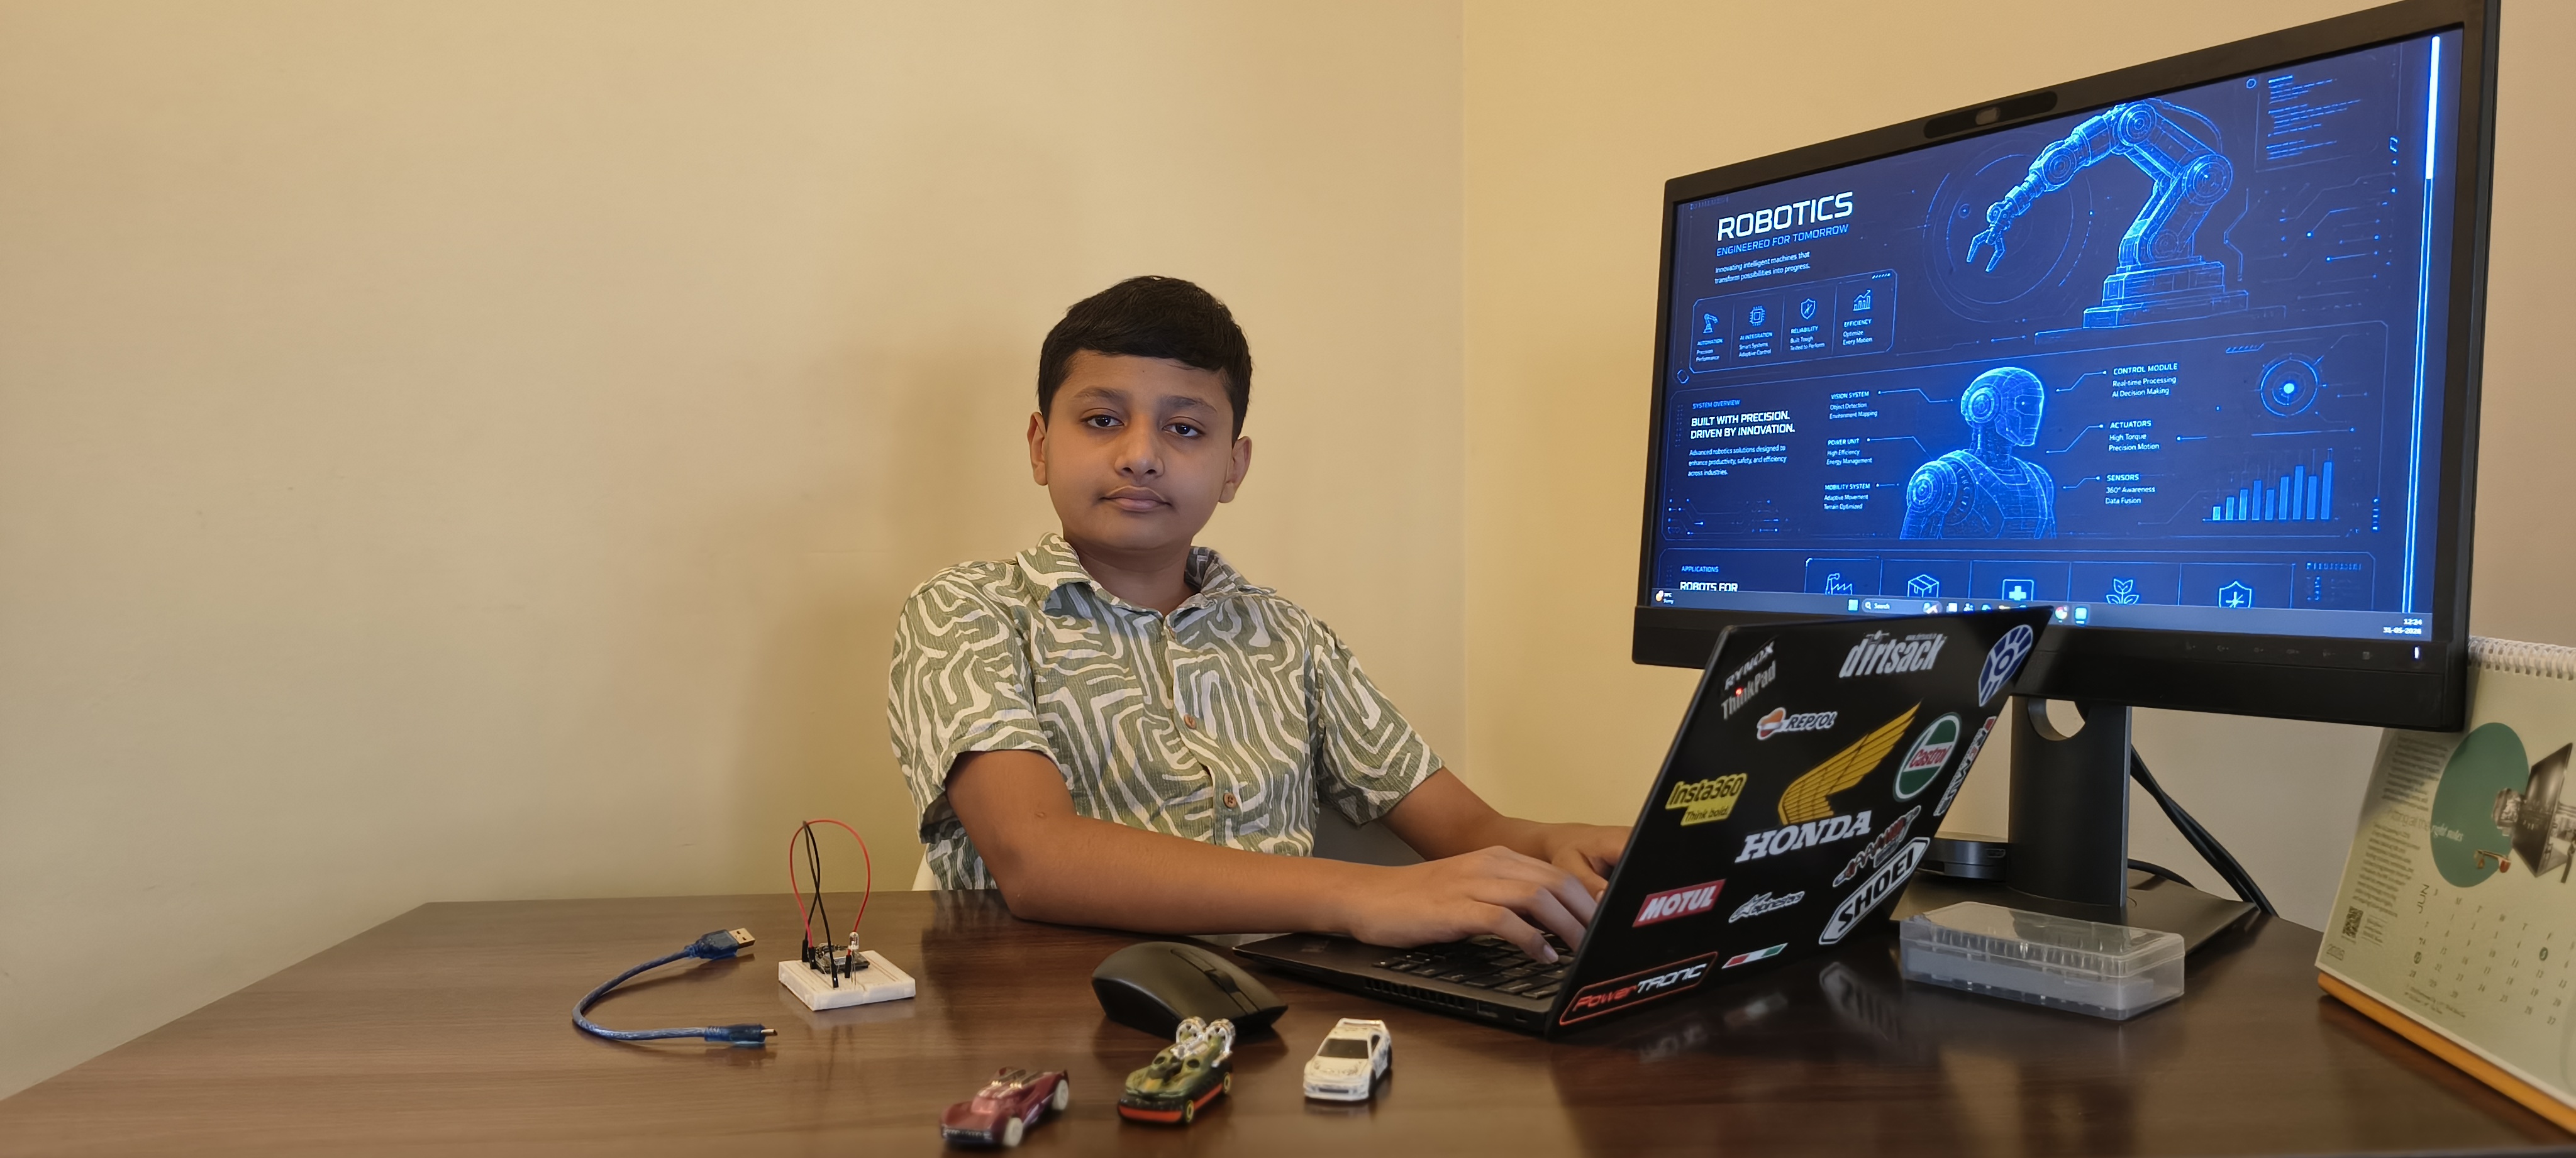
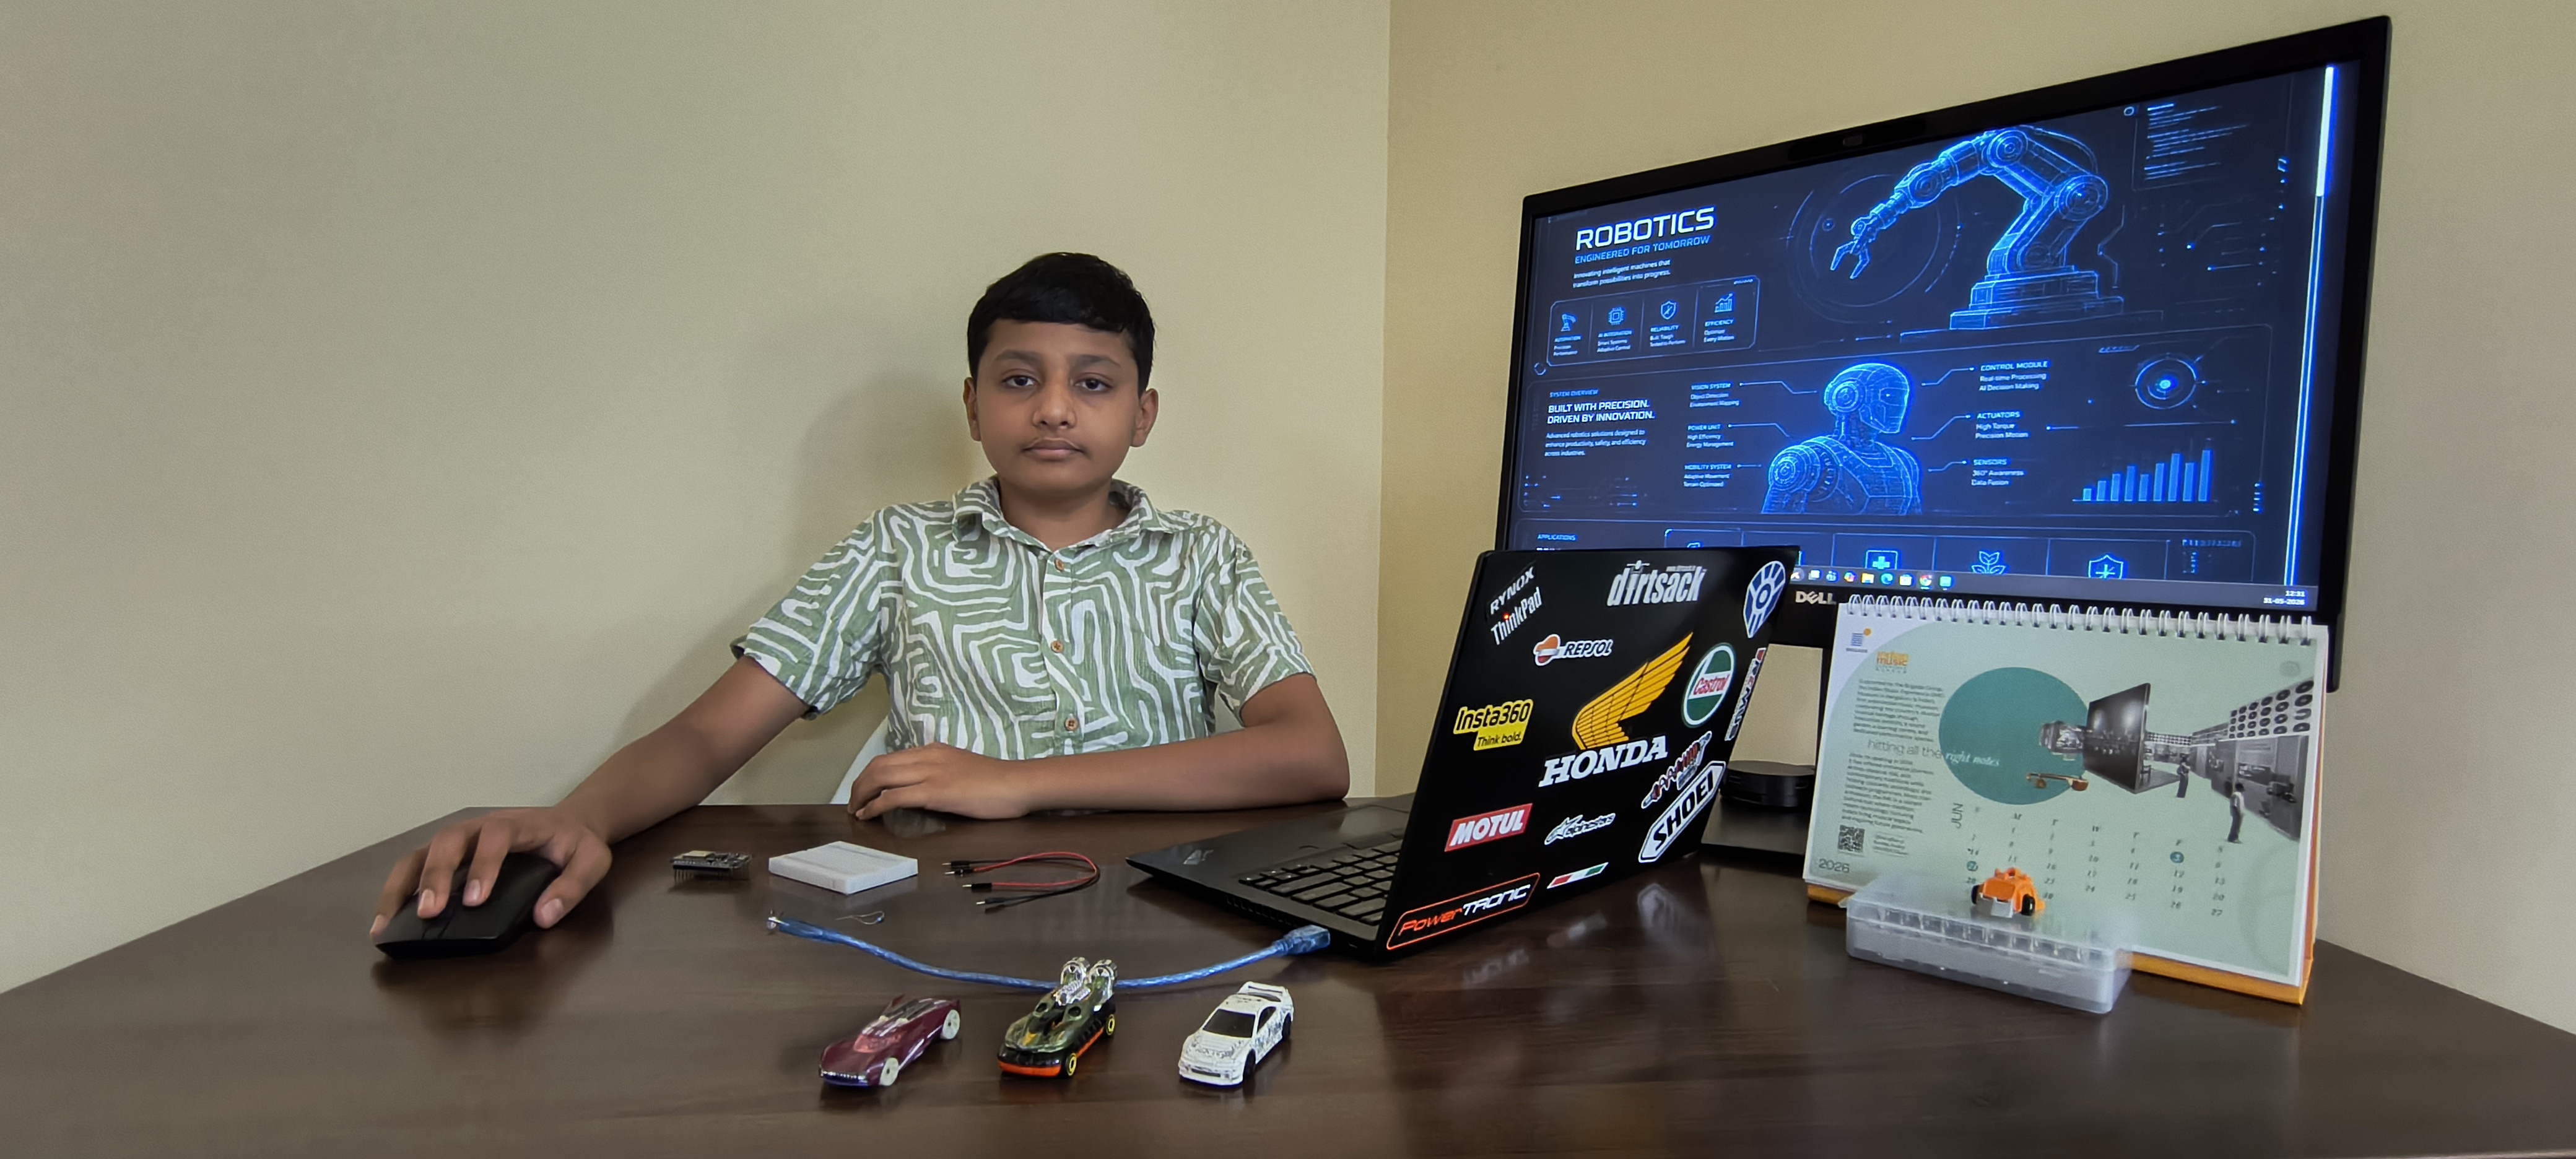
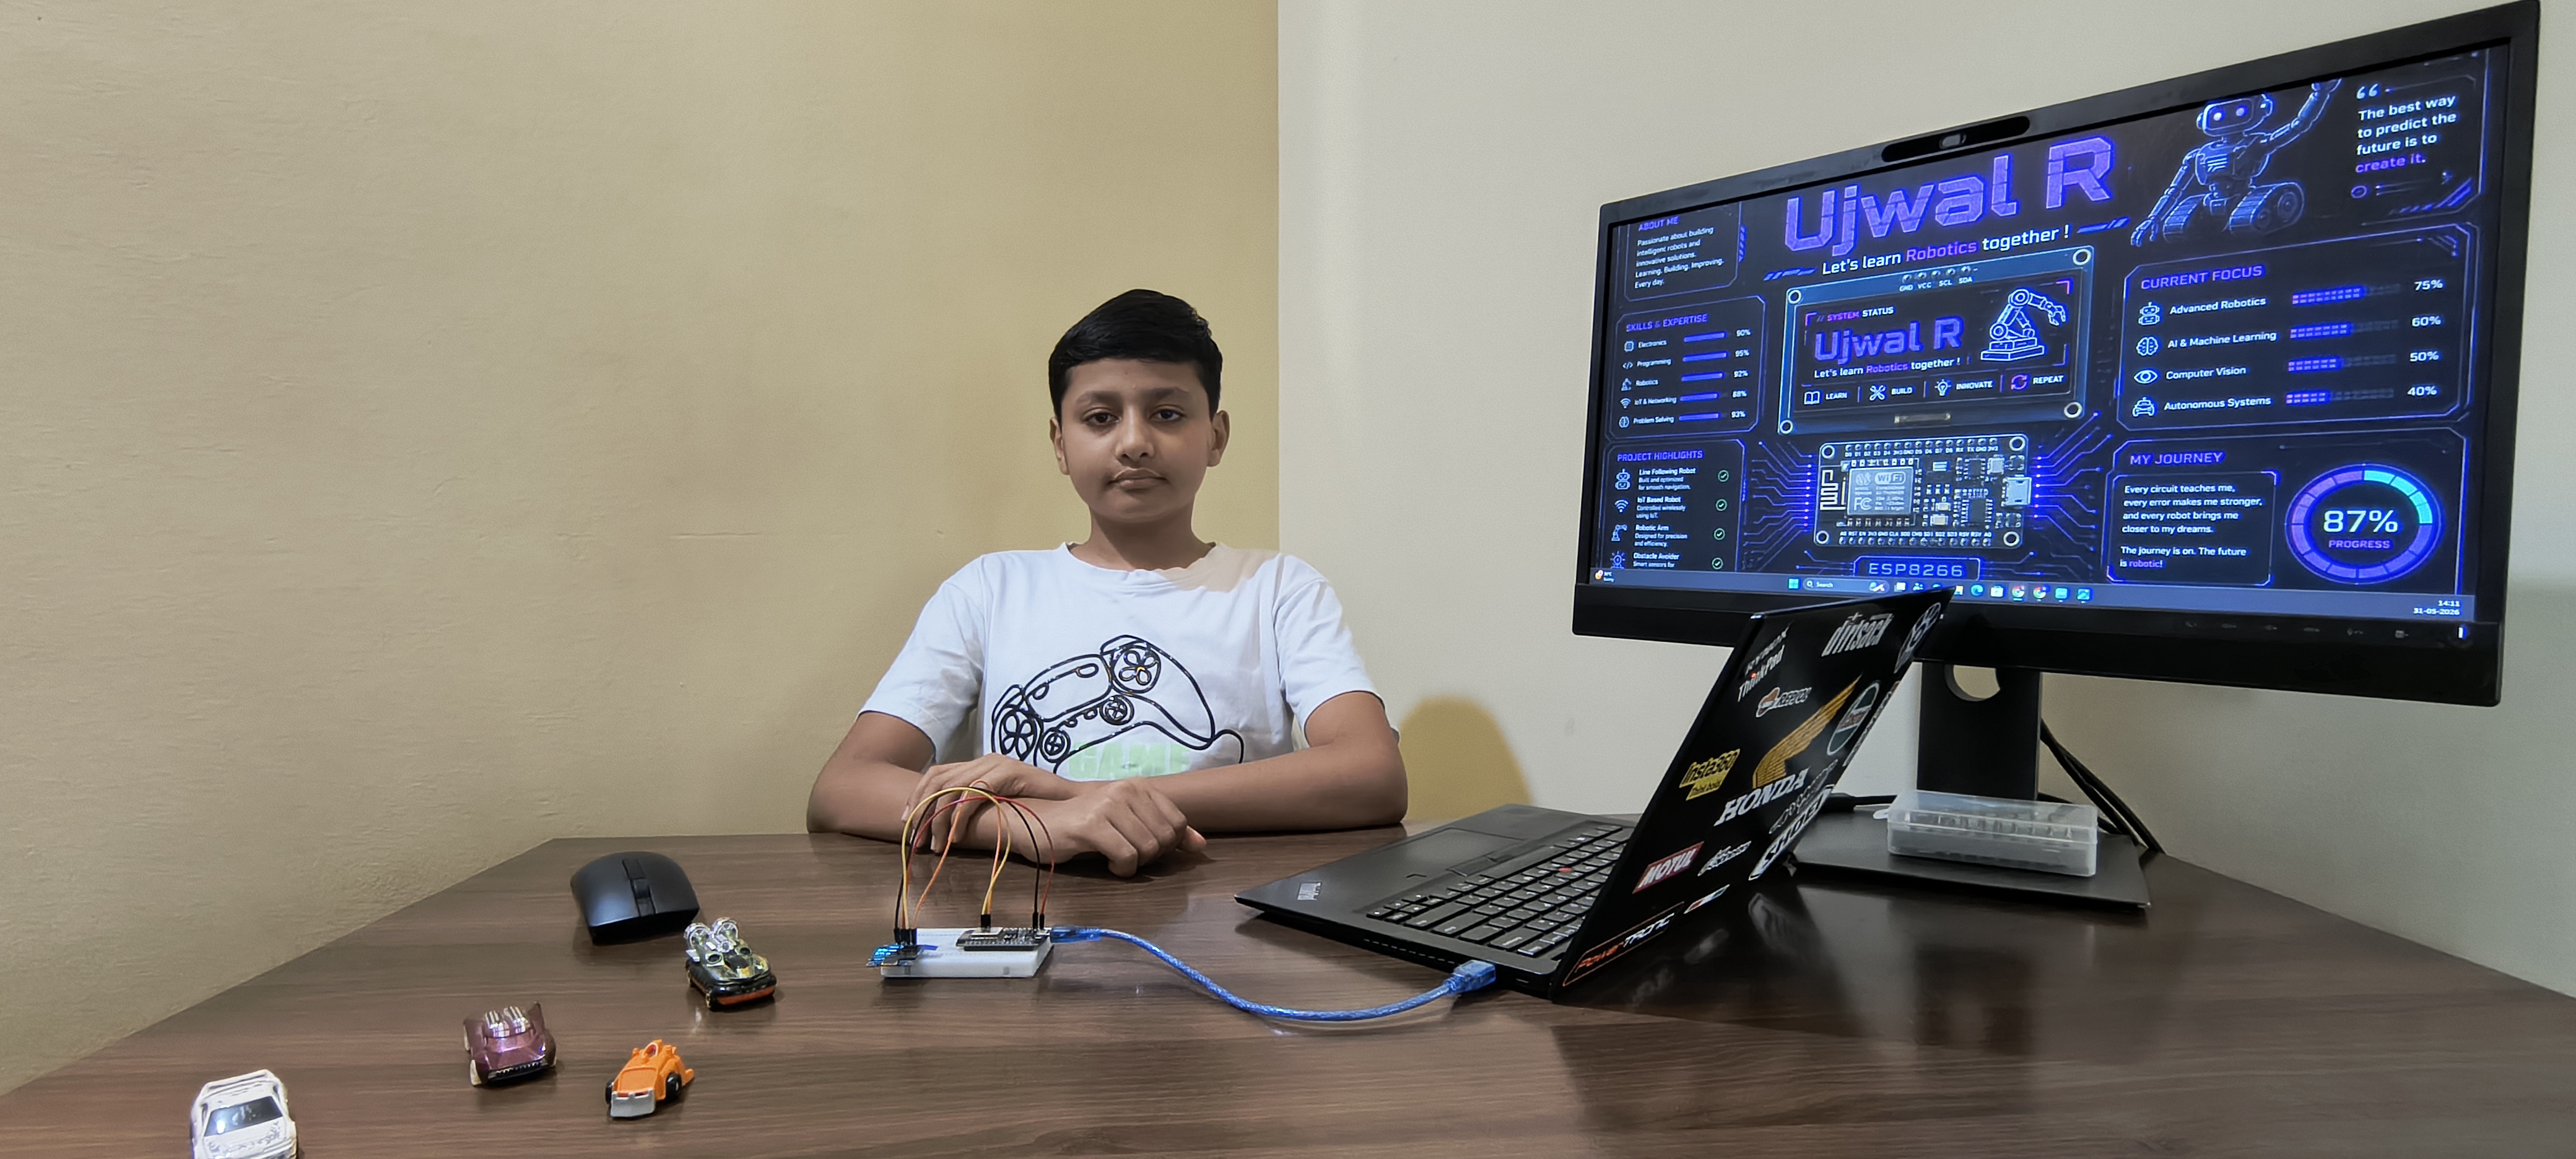
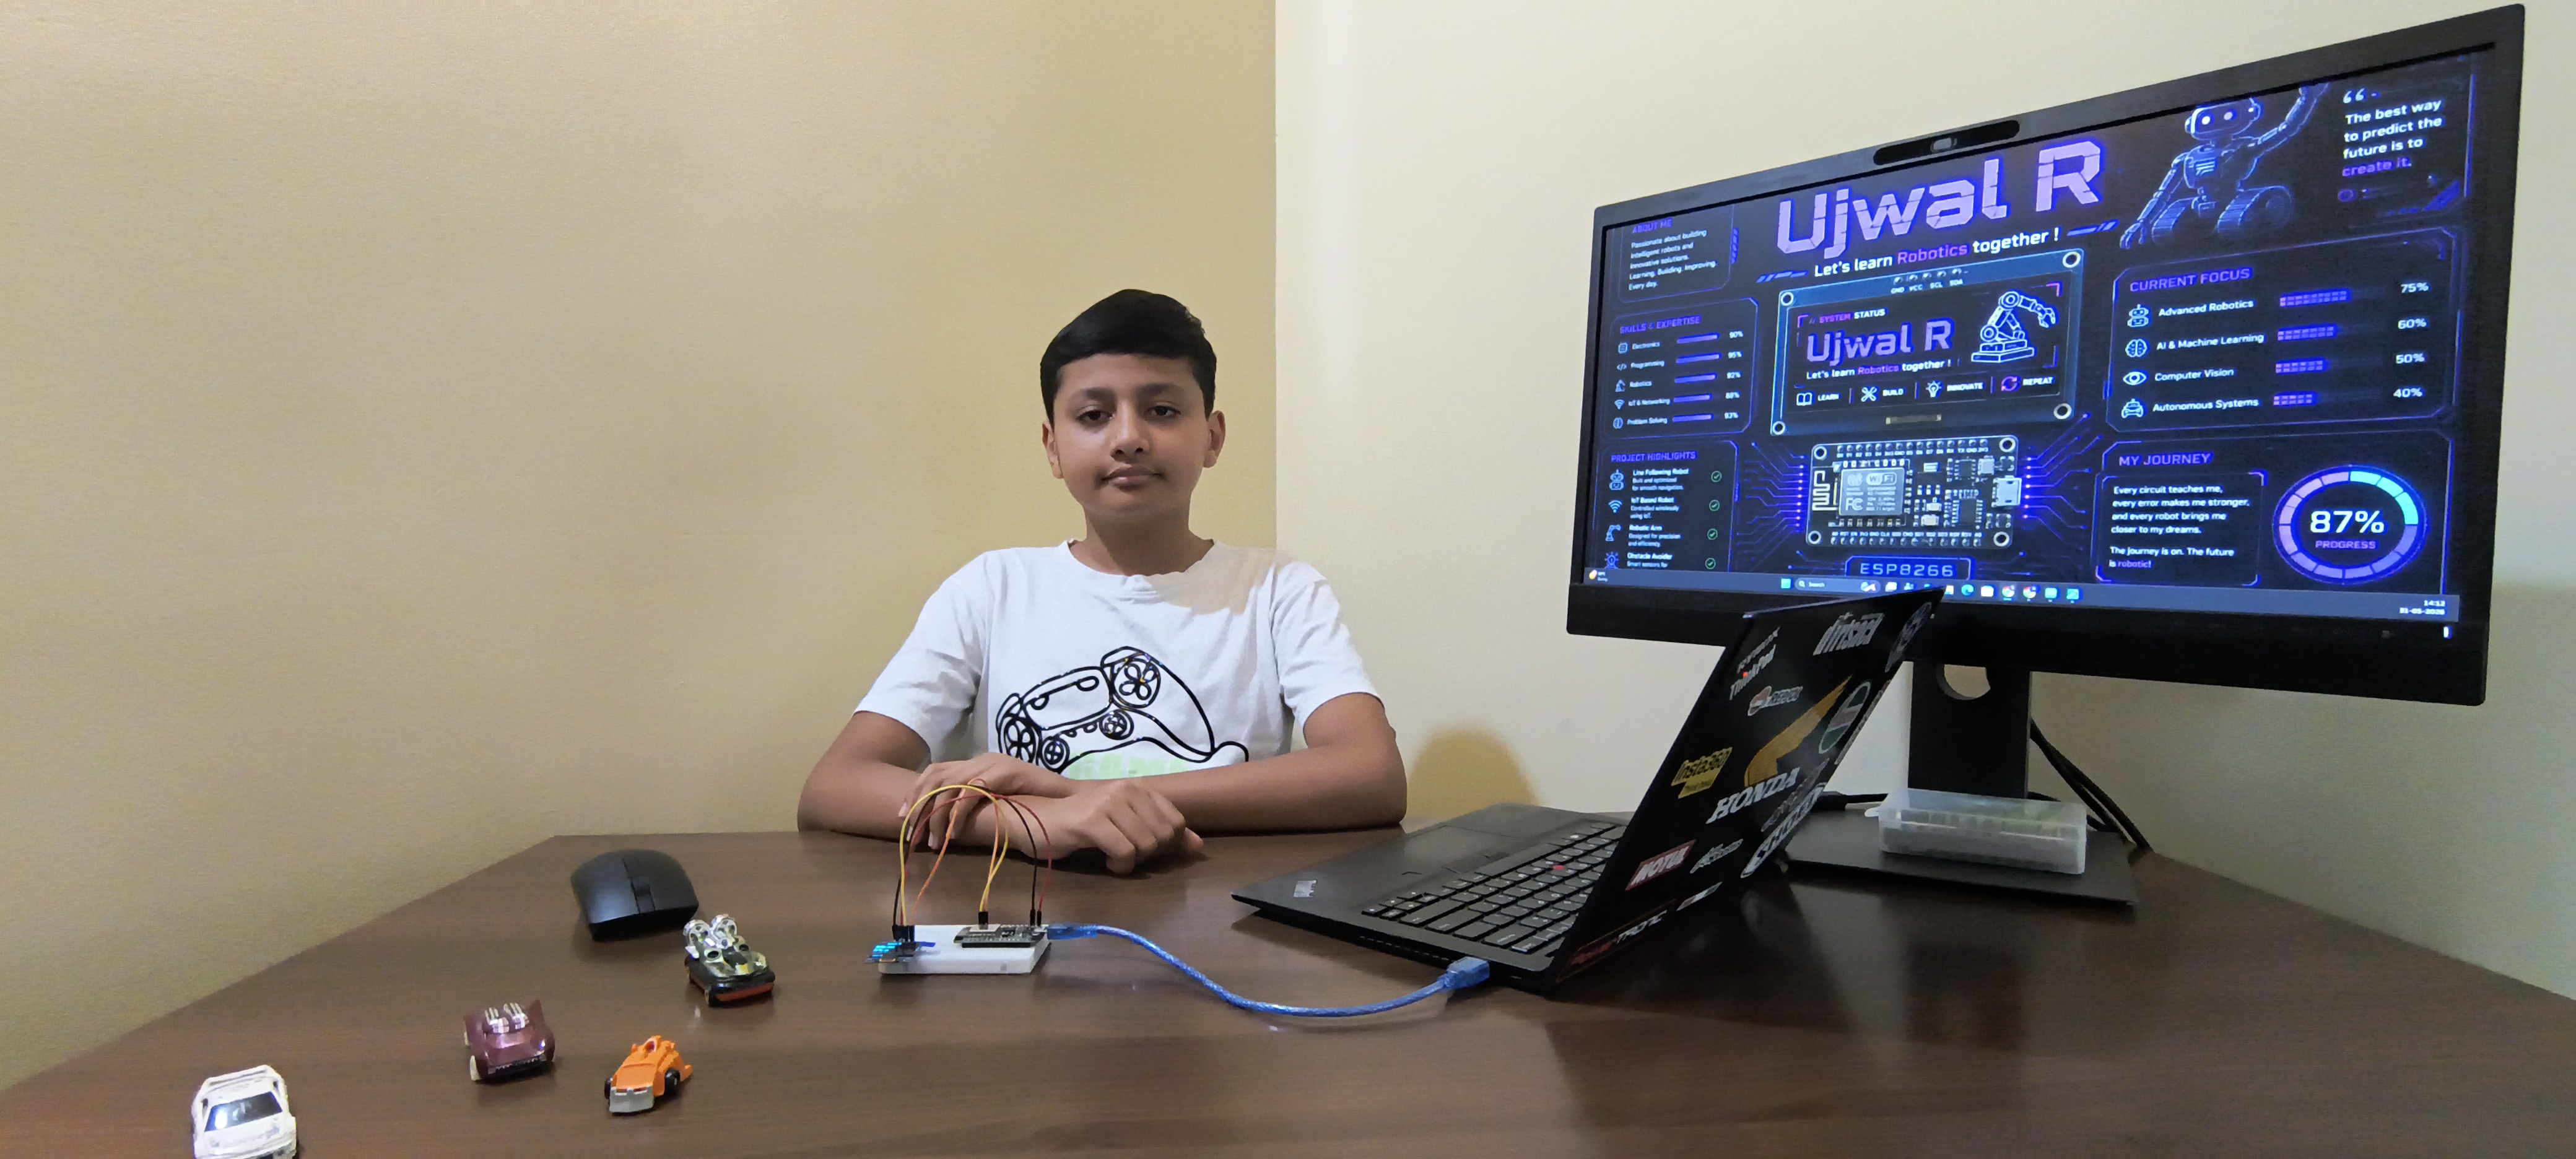
Welcome to my ESP8266 learning journey. This page showcases four beginner-friendly projects that helped me understand electronics, programming, sensors, and automation using the ESP8266 microcontroller.
Hardware
- ESP8266 NodeMCU Board
- USB Cable
- Breadboard
- Jumper Wires
- Computer or Laptop
Software
- Arduino IDE
ESP8266 Board Package
- Open Arduino IDE
- Go to File → Preferences
- Add this URL in Additional Boards Manager URLs:
https://arduino.esp8266.com/stable/package_esp8266com_index.json - Open Boards Manager and search for ESP8266
- Install the ESP8266 package
Board Configuration
- Board: NodeMCU 1.0 (ESP-12E Module)
- Upload Speed: 115200
- Port: Select your connected COM Port
LED ON/OFF Using ESP8266
LED Blink Using ESP8266
Touch-Controlled LED System
Date & Time Display Using ESP8266